});
Showing posts with label recipes. Show all posts

Saturday, January 14, 2017

The Most Powerful Natural Antibiotic. Kills Any Infection In The Body


If you don’t trust in pharmacies and you’re looking for a powerful antibiotic, natural and very healthy, this is your recipe!
Infections in the body should not always be treated with different antibiotics. Nowdays you can find many natural based remedies and try to kill your infections by them.
This remedy is easy to prepare at home and rejuvenates your body, making it work flawlessly.
For the body to function flawlessly, it’s essential to have a strong immune system. Say goodbye to inflammations and infections, and trust me that this remedy will protect you against any infection and bacteria.
Ingredients:
3 cups of apple cider vinegar
1/4 cup of chopped garlic
1/4 cup of chopped onion
2 fresh chili peppers
1/4 cup of grated ginger
2 teaspoons of grated horseradish
2 teaspoons of turmeric
3 teaspoons of honey
This tonic has helped many people to cure many viral, bacterial, parasitic and fungal diseases and even plague! Its power should most certainly not be underestimated.
How to prepare:
  1. Combine all the ingredients in a bowl, except for the vinegar.
  2. Transfer the mixture to a Mason jar.
  3. Pour in some apple cider vinegar and fill it to the top. It is best if 2/3 of the jar consist of dry ingredients, and fill in the rest with vinegar.
  4. Close well and shake.
  5. Keep the jar in a cool and dry place for 2 weeks. Shake well several times a day.
  6. After 14 days, squeeze well and strain the liquid through a plastic strain. For better results put a gauze over it. Squeeze well so the whole juice comes out.
Store the tonic in the fridge. For maximum potency, let mixture infuse for six weeks. If you have a need, you can use the Master Tonic earlier. Take one or two tablespoons a few times a day as needed.

Source

Thursday, January 5, 2017

Kentucky Bourbon Beef Jerky

beef jerky, Kentucky Bourbon Beef Jerky
Kentucky Bourbon Beef Jerky


Looking for a rough and tough beef jerky made for a REAL man? You just found it. Bourbon + Beef Jerky = A Super Manly Beef Snack!
When I think of Beef Jerky, I think of a meat snack that is made for the rough and tough man. I eat most of my jerky while working on a drilling rig in South Texas. It just feels right tearing into a dried tough piece of meat in order to give you enough protein to make it through the day.
I don’t know about you, but what is more manly than making your beef jerky with bourbon? Nothing, that is the obvious answer to this question. Here's The Recipe

Wednesday, December 28, 2016

HOW TO MAKE BILTONG


HOW TO MAKE BILTONG, THE BEST SURVIVAL FOOD


Biltong  is a great survival food that has his origins in Southern Africa and it’s a variety of dried and cured meat. You can use a big variety of meats to produce biltong like beef , game meats, chicken, fish or even ostrich. First you have to cut out the fillets of meat.
The fillets must be cut into strips or flat pieces following the grain of the muscle. Biltong is similar to beef jerky in a certain way because both are cured-dried meats. The difference between biltong and beef jerky is that biltong is sliced after the drying  process  not  before like the beef jerky.
Ingredients for biltong

          Meat
         Black pepper
  • Coriander
  • Salt
  • Sugar or brown sugar
  • Vinegar
The modern day recipe may include:
  • Balsamic vinegar or malt vinegar
  • Bicarbonate of soda
  • Dry ground chili peppers
  • Onion powder
Preparation
The best way to prepare biltong is by marinating the meat in a vinegar solution (balsamic or cider vinegar work very well too) for a few hours. After soaking the meat must be drained of excess liquid. Meanwhile prepare the spice mixture that consists of equal amounts of :
  • Whole slightly roasted and roughly grounded coriander
  • Black pepper
  • Rock salt
  • Barbecue spice
Mix all the ingredients then ground roughly together. Sprinkle the mix all over the

Biltong, how to make biltong
Biltong

meat fillets and rub well to obtain an evenly distributed layer. After this process the meat must rest for a few hours or refrigerate overnight in order to absorb the flavors.
The next step is to pour off any excess of liquid.
The drying process
The drying process can be achieved in three ways:
  1. You can dry out the meat in cold air.
  2. On a cardboard or in a wooden box
  3. In a climate-controlled dry room
In colder climates biltong can be dried with the help of an electric lamp but care must be taken to ventilate as mold can form on the meat spoiling it.

A traditional slow dry will take 4 to 6 days but you can dry the biltong in an electric fan-assisted oven too. Set the oven to 100-160 degrees F and leave the door open in order to eliminate the moist air. You’ll have the same result as the traditional drying after 4-5 hours. The point is to eliminate as much moisture as possible. A longer drying process will prolong the shelf life from 2 to 3-4 years. Biltong can be eaten as a snack, added to stews for the great taste, sandwiches or make biltong-flavored potato chips.


If you have any other tip about biltong please write a comment in the section bellow.

Saving our forefathers ways starts with people like you and me actually relearning these skills and putting them to use to live better lives through good times and bad. Our answers on these lost skills comes straight from the source, from old forgotten classic books written by past generations, and from first hand witness accounts from the past few hundred years. Aside from a precious few who have gone out of their way to learn basic survival skills, most of us today would be utterly hopeless if we were plopped in the middle of a forest or jungle and suddenly forced to fend for ourselves using only the resources around us. To our ancient ancestors, we’d appear as helpless as babies. In short, our forefathers lived more simply than most people today are willing to live and that is why they survived with no grocery store, no cheap oil, no cars, no electricity, and no running water. Just like our forefathers used to do, The Lost Ways Book teaches you how you can survive in the worst-case scenario with the minimum resources available. It comes as a step-by-step guide accompanied by pictures and teaches you how to use basic ingredients to make super-food for your loved ones.

Source:
http://www.preparefordepressionnow.com/make-biltong-best-survival-food/


Wednesday, February 20, 2013

12 Homemade Bread Recipes – Never Buy Bread Again

12 Homemade Bread Recipes - Never Buy Bread Again


Baking your own bread is at the heart of homesteading and self-sufficiency. Bread is one of our main sources of carbohydrates, it is a cornerstone of most of our diets and nothing beats the taste and smell of freshly baked bread.

If you bake your own bread, or want to start, you really need to head over to Common Sense Homesteading and check out their 12 great bread recipes. There is everything from basic sandwich bread to sour-dough bread and even potato bread. This is really a page worth bookmarking and coming back to over and over.

12 Homemade Bread Recipes – Never Buy Bread Again


Sources:
http://knowledgeweighsnothing.com/12-homemade-bread-recipes-never-buy-bread-again/

http://www.commonsensehome.com/bread-recipes/


Wednesday, January 30, 2013

6 Everyday Uses for Dry Milk

The Skinny: 6 Everyday Uses for Dry Milk


Powdered milk… I know what many of you are thinking, “Never in a million years will I substitute dry milk for the real thing.” Up until a few years ago, I was right there with you, but I have since seen the light. Let me begin by saying powdered milk has gotten a bad rap.
Powdered milk is a prepper staple that all prepper sites suggest we stock up on. To calculate how much your family needs, click here. Bear in mind that if you have small children or are a nursing mother, it is important to have even more powdered milk stored.
Not many know of the versatility of the nutritional value of our little powdered friend. One cup of dry milk provides you with a good source of protein, vitamins A and D, calcium, magnesium and essential fats.

To reconstitute dry milk:

To reconstitute one quart nonfat milk, sprinkle ¾ cup (3.2 oz) non-instant dry milk powder on top of 3¾ cups water at
room temperature. Beat with mixer, rotary beater or wire whip until dissolved.
To reconstitute one gallon nonfat milk, sprinkle 3 cups (12.8 oz) non-instant dry milk powder on top of 3 qt 3 cups
water at room temperature. Beat with mixer, rotary beater, or wire whip until dissolved.

Tips on preparing powdered milk:

  • Mix it very well. Using a clean egg beater or mixer helps to break up the clumps.
  • Mix powdered milk with very cold water. When mixed, keep it very cold.
  • Make powdered milk the night before use. This helps the flavor come out.
  • Mixing equal parts of fresh milk to reconstituted milk to help ease fussy drinkers.
  • A little sweetener can go a long way. Adding a spoonful of sugar, chocolate syrup or vanilla extract can help enhance the flavor.
  • If your family still doesn’t like the taste of reconstituted milk, use it for cooking purposely only and save your real milk for drinking.
For those of us trying to find more economical ways to deal with the ever-increasing grocery bill, powdered milk is your best friend! Many of our diets are centered around dairy products: milk, cheese, sour cream, coffee creamer, and heavy cream. All of these products can be made with powdered milk!

Storing powdered milk:

According to USA Emergency Supply, “Dry milk products are probably the most sensitive to environmental conditions storage foods there are, particularly to temperature and moisture content. Their vitamins A and D are also photosensitive and will break down rapidly if exposed to light.
The area where your dry milk is stored should be kept as cool as possible. If it is possible to do so, air-conditioning or even refrigeration can greatly extend the nutrient shelf life. After opening a package of dry milk, transfer the powder to a tightly covered glass or metal container (dry milk can pick up odors from plastic containers) and keep it in the refrigerator. Unsealed nonfat dry milk keeps for a few months; dry whole milk for a few weeks.
My family stores powdered milk in sealed Mylar bags (In my opinion, this is the best long-term storage method). Adding desiccant pouches to minimize moisture will also prevent “lumping” in the powdered milk. Once opened, we store the unused powdered milk in the refrigerator for prolonged freshness. Use the instructions outlined in this article to store powdered dry milk in Mylar bags.
Aside from using powdered milk as a substitute for the real thing, there are other ways that you can use this essential pantry item when cooking. The following are just a few of the recipes found in The Prepper’s Cookbook: 365 Recipes to Turn Your Emergency Food into Nutritious, Delicious, Life-Saving Meals.
Sweetened Condensed Milk Recipe
Equivalent to 14 ounce can
  • 1 tablespoon butter
  • ½ cup hot water
  • 1 cup nonfat dry milk
  • ¾ cup sugar
  1. In a small saucepan, add  the butter in the hot water and stir until combined.
  2. Pour into a bowl and stir in the dry milk powder and sugar. Mix well until the sugar and milk powder are dissolved.
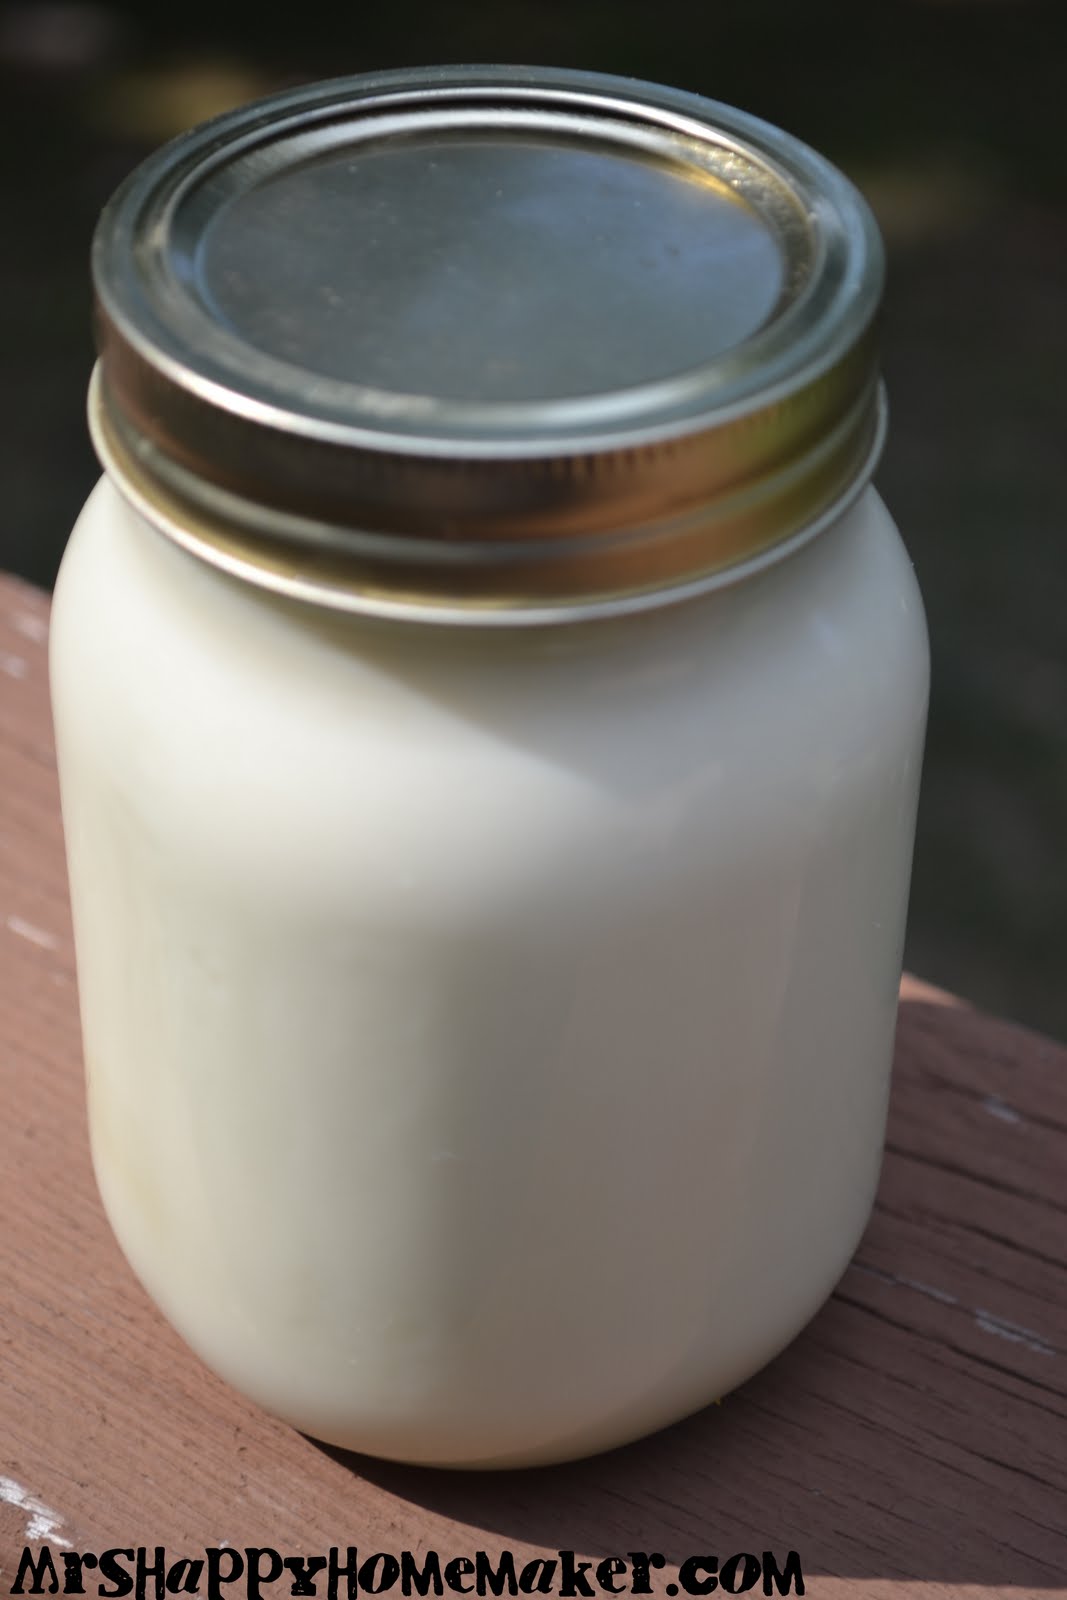
Evaporated Milk Recipe
Equivalent to 12 oz. can
  • 1 1/3 cups water
  • 1 cup nonfat instant dry milk
  1. Place the ingredients in a jar with a tight fitting lid and shake vigorously.
Hot Cocoa Mix
Makes 6 cups
Ingredients:
  • 2 c. dry milk powder
  • ½ c. non-dairy creamer
  • ¾ c. sugar
  • ½ c. cocoa
  • Dash of spice such as cinnamon, nutmeg or cayenne or pepper
  1. Mix all ingredients together and store in a cool, dry space.
  2. To make drink, add 1 cup of warm milk or water to 1-2 tablespoons of cocoa mixture.
Heavy Cream Substitute
  • 1 cup milk
  • ¼ cup nonfat dry milk
  1. Whirl the milk and dry milk powder in a blender until thoroughly mixed. Use in baking or cooking dishes that call for heavy whipping cream.
Instant Oatmeal Mix
Makes 14 – half cup servings
  • 6 cups quick-cooking oats
  • 1/3 cup dry powdered milk
  • 1/4 cup powdered sugar
  • 1/4 cup packed brown sugar
  • 3 teaspoons ground cinnamon
  • 1 teaspoon salt
  • 1 cup dried fruit or nuts
  1. In a large bowl, combine all of the above ingredients. Then store in airtight container in a cool dry place for up to 1 month.
To prepare oatmeal:
  1.  Place 1/2 cup of mix and add 1/2 cup boiling water or milk to the mix and stir until oats are softened, about 2-3 minutes.
Pudding Mix
Serves 4
  • 3 cups nonfat dry milk
  • 1 3/4 cups granulated sugar
  • 1 cup cornstarch
  • 1/4 teaspoon salt

  1.  Stir all the ingredients together until well blended. Store in a covered container or in individual 1-cup packages.
  2. To make pudding, place 1 cup pudding mix in a small saucepan. Slowly sir in 2 cups boiling water. Cook over medium heat for 3 to 5 minutes, stirring constantly, until the mixture is thickened. Let the mixture cool slightly and then pour into individual containers to make homemade pudding cups or into a single container. Cover and keep refrigerated.
Vanilla pudding—Stir in 1 teaspoon vanilla extract and 1 tablespoon butter once the pudding has thickened.
Chocolate pudding—Add 2 tablespoons of cocoa powder to 1 cup of dry mixture before cooking. Stir in 1/2 teaspoon vanilla and 1 tablespoon butter once the pudding has thickened.
*Place plastic wrap on top to prevent a skin from forming – me, I love pudding skin, but maybe I’m weird. Cool for 15 minutes till room temp and then spoon into individual bowls if you want, refrigerate for at least an hour

Sources:
http://readynutrition.com/resources/the-skinny-6-everyday-uses-for-dry-milk_28122012/

http://daily-survival.blogspot.com/2013/01/the-skinny-6-everyday-uses-for-dry-milk.html?utm_source=feedburner&utm_medium=feed&utm_campaign=Feed%3A+blogspot%2FwjrD+%28Daily+Survival%29


Saco Mix 'n Drink, Instant Non-Fat Dry Milk, (makes 40 quarts), 8-Pound Box

Peak Dry Whole Milk Powder, 900-Grams

Nestle Nido Instant Dry Whole Milk Powder, Fortificada, 1.76-Pound Cans (Pack of 2)

Saco Mix 'n Drink, Instant Non-Fat Dry Milk, (makes 3 quarts), 9.6 Ounce Boxes (Pack of 12)


Saturday, January 26, 2013

Make Your Own French Vanilla Coffee Creamer

French Vanilla Coffee Creamer


Ingredients:
  • 14oz sweetened condensed milk
  • 14oz milk (whole, lowfat, or skim – doesn’t matter)
  • 2 teaspoons vanilla extract OR Vanilla Coffee Syrup for a stronger flavor
  • a mason jar (quart is perfect)


Instructions:

Pour all of the ingredients into your mason jar.  Screw the lid on tightly, and shake vigorously for a few minutes until well combined.

To Make it creamier, substitute the milk for heavy cream

 
Source

 
Eagle Brand Sweetened Condensed Milk, 14 Ounce

Eagle Brand Sweetened Condensed Milk, 14 oz (Pack of 6)

McCormick Pure Vanilla Extract-16 OZ

Starbucks Vanilla Syrup (1-L.)


Friday, January 25, 2013

Mini Peach Cobblers

Mini Peach Cobblers


Let’s talk food! One of my many obsessions is miniatures. Sweet, little, adorable, teeny, tiny miniatures. I just can not help but squeal when I see something mini… so, of course, an edible miniature is just the best invention ever… EVER! Any recipe I get my hands on I try to miniaturize it. This my friends, is one of those recipes. It is my mother’s peach cobbler recipe and it is amazing. Easy, amazing, and now… miniature. I hope you enjoy… and listen, if you are not just enamored by mini’s like I am, you can make this recipe in a regular 9×11 casserole dish. But I can’t lie, it’s really cute this way! Really cute!
Click the Source for recipe:
http://www.alli-n-son.com/2011/06/02/mini-peach-cobblers/


The Prepper's Pocket Guide: 101 Easy Things You Can Do to Ready Your Home for a Disaster

SOL Origin Survival Kit and Essential Survival Tools

Cabelas Survival: Shadows of Katmai W/Gun

3 Pack of Premium Paracord / Para-cord Survival Bracelets 8" (Medium) - 7/8" Buckle, 4-Strand Core, 11.8 Feet, 7 Inner Yarns - Thin Blue / Red / White Line - The Friendly Swede® Paracord Series (S350/78/4/-8BRW)


Monday, January 14, 2013

Momma Hen's Kitchen: Honey Butter Pork Tenderloin

Momma Hen's Kitchen: Honey Butter Pork Tenderloin: Honey Butter Pork Tenderloin - food.com 4 tbs butter 2 tbs honey 1 1/2 pounds pork tenderloin, trimmed 1/2 tsp Cajun seasoni...