});

Tuesday, March 22, 2016

Six Ways You Can Keep Yourself Alive With Animal Bones

Whether you find yourself stranded in a hostile environment, or you’re facing a long term collapse of the grid, you’ve got to learn how to put everything to good use. You have to carefully consider every little thing that you would have normally tossed in the trash. Everything we’ve been taught in our throwaway culture will have to “thrown out”, for lack of a better term. Disregarding our consumerist culture is probably one of the greatest attributes of the Prepper movement, and there is no shortage of survival literature and videos, that reveal some way to improvise mundane objects into useful tools. There’s one thing I rarely hear about though, and perhaps it’s due to its rather macabre nature.
Animal bones have been used for thousands of years by our ancient ancestors, who were of course, the greatest survival experts in human history. They didn’t have the option to be squeamish or wasteful, and neither should we. While it’s unlikely we’d have resort to using animal remains in most situations, it shouldn’t be ruled out. The longer any given survival scenario lasts, the more resourceful we’ll have to become. Below are a few examples of animal bones being put to great use, with links added for detailed instructions.
Knives
The procedure to making a bone knife is pretty simple. After collecting a discarded animal bone, you can shape it into a blade by grinding it up against a coarse stone. The lengthy bones from a large animal like a deer are usually used. The long femur and shin bones are probably the best, and will give you plenty of space to make the blade while still leaving enough bone for a handle. This short video will give the rundown on how these knives are made. It really looks like anybody could do it. Be careful though and respect the material you’re working with, because a bone knife can be just as sharp as steel blade.
Sewing Needle
The source for sewing needles wasn’t where I would have expected. It seems that ancient people usually didn’t look for small thin bones to shaped into needles. Instead, they would usually chip splinters from a larger bone (which you might have in abundance of after making a bone knife) and file down the sharp edges with stone and wet sand until the tip was the only sharp part of the splinter. Afterward they would drill a tiny hole at the other end with a piece of stone or sharp rock. Of course, depending on your situation you can use anything you can get your hands on to drill it out.
Fishing Hook
Unlike sewing needles, which can be chipped out of most bones, it seems like fishing hooks are easier to make out of very specific parts of the animal. Certain bones are already very close to the shape of a hook, and if you examine the remains of an animal you’ll probably find several good contenders to work with. While I’ve never made a bone hook, after doing some research I’ve found instruction to make them out of jaw bones, nose bones, or the tarsal bone of a deer foot. Just like the knife and sewing needle, it’s merely a process of whittling down the existing bone into the proper shape.
Fuel
It turns out that bones aren’t just good for making tools. A study from Finland found that ancient people living above the arctic circle often had a scarce supply of firewood to work with. To supplement their fires, they would often add animal bones to the mix. While bones typically don’t burn very well by themselves, once a fire gets going they can easily catch with the rest of the wood. After extensive experimentation, the researchers found that the fire would burn at a slightly lower temperature. However, with the addition of bones the flame would burn brighter and longer.
It’s crucial to get just the right bone to firewood ratio though. Several experiments were done with different ratios, to see what exactly works best. They found that a 50/50 mix would burn brighter and longer, while adding more bones than wood wouldn’t combust properly. Much like wood, the smaller bones like ribs and phalanges would burn faster, and large femur bones would burn slowly, but with more consistency.
Fertilizer
While I haven’t found any evidence of this being used by ancient people (correct me if I’m wrong in the comments), it’s certainly worth knowing from a self-reliance context. Known as bone meal, ground up animal bones make a fantastic fertilizer due to their abundance of phosphorous. While dry bones would work best, if you’re stuck with fresh bones it’s fairly simple to boil and bake them before preparing them for your garden. Once you have some dry bones free of any organic material, you need to hammer them to pieces with a mallet (safety glasses please), and then grind them into a powder with a stone or mortar and pestle. Then stir the powder into warm water, and wait for it to cool. Now your liquid bone meal is ready to be added to the soil.
Food
In our society, bones a very underrated source of food. We tend to think of it as a kind of scrap that we throw to our dogs. But, hidden within bones is the bone marrow, which is an incredibly nutritious source of fats, proteins, and vitamins. The massive amounts of collagen are great for helping your body heal cuts and bruises as well. The bone is often grilled in foil to trap the grease, or is boiled in a stew to make a broth. Fortunately, since bone cuts are typically regarded as scrap, you can usually buy them on the cheap.
Conclusion
Overall, bones are a fantastic survival resource. They are cheap, plentiful, and easy to work with. They’ll make a great addition to your fire pit, garden, or even your dinner plate. And if you need to make any tools, you might not even have to kill an animal to find them. They’re usually just lying around in the forest, along with the rocks and stones that are needed to shape them. While the skills involved to make them into tools are time consuming, they’re very accessible to the layman. Anyone can do it with a little bit of practice.
Joshua Krause was born and raised in the Bay Area. He is a writer and researcher focused on principles of self-sufficiency and liberty at Ready Nutrition. You can follow Joshua’s work at our Facebook page or on his personal Twitter.
Joshua’s website is Strange Danger

This information has been made available by Ready Nutrition
Originally published July 1st, 2014

If you found this article useful, please Vote for Ready Nutrition as a top prepper web site
 
 Books Of Interest:
 

Make CANNED CHICKEN – Lasts on the Shelf for 3+ Years!


How to Can Chicken! Making your own canned chicken is not as scary as it seams. It tastes great and can last 3+ years! Prepared-Housewives.com #canning #cannedchicken
Making my own canned chicken was one of those projects I kept putting off until I ordered 80 lbs of chicken and either had to can it or waste it.  I was leaving town for a week so I stayed up for 24 hours straight and got it all canned!
Luckily nothing blew-up, but canning chicken was only half of the issue, I now had to eat it! I’m not going to lie, I was scared I was going to kill not only myself, but my family and land a spot on Dumbest Ways to Die.
I am proud to say though, over two years later we are all still alive and it’s some of the best meat I’ve ever had! I love the convenience of pulling out a jar of cooked chicken and putting it into any meal. This is definitely something I plan to do with my chicken from now on! It’s even better having the peace of mind knowing I don’t have to show my face or purple pj’s at the store for years to come.
Canned chicken’s nutritive value is best for up to 3 years, but can last much longer. So go ahead, give it a try – I dare you ;)
How to Can Chicken! Making your own canned chicken is not as scary as it seams. It tastes great and can last 3+ years! Prepared-Housewives.com #canning #cannedchicken

STEPS TO CANNING CHICKEN:

(NOTE: Be sure to read your Instruction Manual before operating your Pressure Cooker/Canner. I’m Not responsible for death… only for AWESOME chicken :)
Short Version: Put raw chicken in jars, put 1/4-1/2 tsp of salt on top, & then pressure cook for 75 (pint) or 90 (quart) minutes!
You can use this same procedure to bottle most meats (some just need to be cooked slightly and maybe need broth added) –  beef, venison, elk, sausage, brisket, etc.

1- Get Supplies Ready:

  • PRESSURE CANNER – I love the All American 921 Pressure Cooker/Canner
  • CANNING SUPPLIES – Utensil Set (Tongs, Funnel, Lid Holder, etc.)
  • SALT – Pint (abt. 1/4 tsp) & Quart (abt. 1/2 tsp)
  • VINEGAR – To wipe Rim of Jar
  • CANNING JARS Pint (holds 1 lb) or Quart (holds 2lbs) – I Prefer Wide Mouth (Easier to fit meat in, and I’m able to use the same lids for all my jars)
    • Inspect jars for chips in the rim and hairline cracks and discard damaged ones.
    • Inspect metal rings and discard any with dents or rust.
    • Wash jars, metal screw bands and lids in hot soapy water. Rinse.
    • Place jars upside down on a clean, dry cloth or leave them in the dishwasher until needed.
    • DO NOT reuse flat metal lids.
Materials Needed for Canning Chicken

2- Cut & Put Raw Chicken into Jars

Slice the chicken however you like so it will fit in the jar – leave about 3/4 to an 1 inch of headspace. You can cube it, slice it, or dice it, I really don’t care.
There is no need to pre-cook chicken, because it will cook in the pressure canner. Chicken also produces enough juice so that no water needs to be added. It makes it’s own chicken broth that you can choose to use if you like.
Cutting Chicken for Canning

3- Add Salt

Put about 1/4 – 1/2 tsp of salt for Pint size jars and put 1/2 – 1 tsp of salt for Quart size jars.
Add salt before canning chicken.

4- Wipe Rim with a Rag or Paper Towel & Screw on Lids

Much of your canning success depends on this one step. Lately, I have wiped the edges of my jars with a little vinegar and all of them have sealed perfectly.
Screw on lids finger tight, do not over tighten or else it will not be able to exhaust properly, but don’t do too loose or it may not seal (no pressure or anything ;)
Wipe Jar Rim with Vinegar

5- Get Pressure Canner Ready:

  • Check metal-to-metal seal for lubrication.
  • Check to make sure vent pipe is clear.
  • Place 1 1/2″ of water in bottom of canner.
  • Place a rack in bottom of pressure canner with the rim facing down.
Getting Pressure Canner Ready

6- Put Jars in Pressure Canner

Make sure to put jars on top of the rack. Never place jars directly on the bottom of the canner. 
Also make sure to stagger the top layer if there are two layers, using a rack between layers. I can fit about 7 pint jars on the bottom and 7-9 on the top.
Put jars on rack in pressure canner

7- Put Cover on Canner

Place cover on cooker bottom so that arrow on cover aligns with the arrow on the bottom. Gradually and evenly tighten two opposite wing nuts at the same time, maintaining the same size gap around the entire canner where the cover meets the bottom.
NEVER tighten just one wing nut at a time – that’s a big NO NO! You don’t want to end up with a lop-sided lid!
put lid on pressure canner

8 – Exhaust for 7-10 minutes

After placing lid on canner, turn stove onto high and allow steam to escape from the vent pipe.
Once you see steam escaping start timing for 7 minutes to allow for the air to escape from the jars.
exhaust pressure canner

 9- Set Pressure Regulator Weight Over Vent Pipe for 10 P.S.I.

Depending on your elevation, set the weight over the vent pipe, aligning the weight so that the hole corresponds to the desired pressure (for sea level or Texas it’s 10 p.s.i.).
set pressure regulator weight

10- Build Pressure & Wait for Regulator Weight to Jiggle & Sputter:

Start Timing

When the regulator weight begins to jiggle and sputter immediately start timing:
  • Pint-Size Jars – 75 Minutes
  • Quart-Size Jars – 90 Minutes

Adjust the Heat

Adjust the heat until it jiggles only one to four times a minute (On my stove I set it between 3.5-5). Try to keep the pressure as steady as possible by regulating the amount of heat applied to the cooker. At no time should the pressure be allowed to rise above 15 P.S.I.
Do not expect the gauge to always show the exact pressure setting, when the weight jiggles and sputters it’s releasing pressure to maintain the setting on the pressure regulator weight. Even in the situation where the gauge is not registering correctly for any reason, the cooker should still be functioning at the pressure regulator weight setting.

11- Turn off Heat

When cooking is completed turn the heat off and allow it to cool until the steam pressure gauge reads zero.
Remove the selective pressure regulator weight slowly and do not release steam pressure too rapidly as liquid will be drawn from jars. You want to make sure to not move the pressure canner until the pressure is completely reduced.
pressure can chicken

12- Remove Cover

CAUTION: Never loosen wing nuts until the steam pressure gauge registers zero, and you have allowed any remaining pressure to escape by carefully removing the selective pressure regulator weight. (The longer you wait without removing the pressure regulator weight after it reaches zero P.S.I., the more vacuum will form, pulling the cover tighter and tighter to the bottom.)
Remove cover, raising farthest edge first to protect face and arms from steam.

13- Yay, you now have CANNED CHICKEN!!! – Remove Screw Bands

Pull chicken out and set on towel to cool. As jars seal you will hear a popping sound and you can check by seeing if the lid has popped down in the center. If a jar does not seal, refrigerate contents and use or reprocess within 24 hours of the original processing.
Wipe containers off after they are cool. Label with the date and contents. You can also choose to add a lot number if you canned more than one lot in a day.
Screw bands are not needed on stored jars. They can be removed easily after jars are cooled. If left on stored jars, they become difficult to remove, often rust, and may not work properly again.

canned chicken from pressure canner

How long does Canned Chicken last?

For best eating quality and nutritive value, use within 3 years. It’s still good for much longer, some have eaten their chicken at 10+ years, but optimal nutrition value is within 3 years.
Never eat anything you think might be spoiled. Discard it. As an added safety precaution you can also boil meats for 20 minutes in an open pan before eating. This will destroy the botulism toxin, should any be present.

Cooking with Canned Chicken…

You can substitute most of your recipes that call for chicken with the chicken you canned.
No need to cook it again, it’s ready to throw into any meal you want! It falls apart very easy so it’s great for chicken salad, tacos, casseroles, and much more. Another great part about canned chicken is the liquid inside is now chicken broth you can use too!
I have a few canned chicken recipes you can use, but will be definitely be adding more so stay tuned ;)
Source

Books Of Interest:
 

Monday, March 21, 2016

Which Wild Animals Are Safe to Eat in a Survival Situation?

                 
While securing shelter, administering first aid, signaling for help and performing a host of other chores rank as top priorities during an emergency, the first question that tends to pop out of most people's mouths is, "So what are we going to eat out here in the woods?"
A quick rule of thumb is that you can eat anything on land with fur or feathers, as long as it is properly prepared and cooked thoroughly to kill bacteria and other pathogens that would make us sick. That means mammals and birds are good to go, although palatability is never guaranteed.
Earlier this year, while teaching survival school, my classes and I ate two possums from my property. Both were fresh and slow-roasted over the open fire. The first possum tasted delicious. Had I been blindfolded, I would have sworn that it was pulled pork barbeque. The second possum, however, sucker-punched me in the mouth. I was all ready for more possum barbeque, but this one tasted like he had been cooked in a burning plastic garbage can. Not nice.
Bugs and reptiles don’t offer as much of an open menu. Numerous insects and their larvae are toxic to humans. Some reptiles and amphibians can be toxic as well. If we stick to fur and feathers, we are taking the guesswork out of the equation. The only feathered beast I would recommend that you avoid is the vulture. Its diet (rotten meat) leaves it tasting like its meals and keeps it pumped full of the worst bacteria. It's a bad sign that nothing eats a dead buzzard—not even other buzzards.
You can eat other scavengers, like crow and skunk, as long as the animal was healthy when it was killed, quickly field dressed and cooked well done.

The next time you are in a survival emergency with a few rounds of ammo to spare or some snare wire, think about scoring some furred or feathered food. And good luck catching a barbeque-flavored opossum. I promise, they are out there!
Calorie content (per 3.5 ounces) of some tasty wild game meats:
Bear: 259 cal.
Beaver: 212 cal.
Deer: 158 cal.
Dove: 219 cal.
Duck: 201 cal.
Goose: 305 cal.
Possum: 221 cal.
Quail: 234 cal.
Rabbit: 206 cal.
Raccoon: 255 cal.
Squirrel: 173 cal.
CC Image courtesy of shannonkringen on Flickr

Source


Books Of Interest:
 

9 Amazing Uses For Apple Cider Vinegar


Source

Do you have any uses you would like to add?

Building Your “Looter Defense Plan”: Do You Live Anywhere Near These 9 Buildings?

When a disaster is headed your way, you quickly see who in your town is prepared and who isn’t.
What naturally happens is that those who think us “survivalists” are crazy, all end up in the same locations, scrambling for help…
• Gas stations
• Grocery stores
• Hardware stores
• Hospitals
These are the very LAST places you want to go to in order to survive a collapse scenario.
Tempers flare… arguments start… fist-fights break out… even riots have been known to happen!  But…

Here Are 5 More “Looting Hot-Spots” To Avoid When TSHTF…

Ok, here’s what you must understand about the “looter mind-set”…
When the “wolves” of our society feel there’s no consequence for their actions, they begin their “mental shopping list of freebies”.
They think about what they’ve been needing for some time but weren’t able to get because of the expense.
This makes certain locations a hot-spot for looting and violence and you must be on HIGH-ALERT if you live anywhere near these 5 businesses…

1. Check-Cashing & Quickee Loan Offices

Looter Defense Planning In A Collapse

Those who are used to cashing their pay checks at offices that often don’t require identification or are just convenient for those without a bank account know that these places have cash on hand but don’t have the security of a “real” bank.

2. Auto Parts Stores

How To Protect Yourself From Looters In A Riot

During the LA Riots of 1992, the auto parts stores were stripped clean within a matter of minutes.
Everything from motor oil to brake pads to carburetors that people needed for tune-ups and repairs.

3. Shoe Stores

Defending Yourself In A Looting Riot

True story… when conflict broke out in Panama in 1989, the very next day after our initial attack, it seemed like every kid in the country had a brand new pair of shiny white tennis shoes.
Specialty shoe stores that harbor those $200 Air Jordans become one of the first shopping points for young, angry men who couldn’t afford them before the choas hit.

4. Convenient Stores

How To Survive A Riot And Looting

First of all, they’re a prime “target of opportunity” because they’re everywhere.
And they have 2 things looters prize almost more than shoes:  drugs and diapers!
Nuff said.

5. Sporting Goods Stores

Looting During Riot

Another hot-spot during the LA Riots were the sporting goods stores.
Why?
Guns. Guns. Guns.
It’s like the ultimate Christmas for criminals who can’t legally buy a firearm but can suddenly get all they can carry for free and without registering.

Are YOU Prepared For Social Chaos, Riots & Looting?

Do an analysis (today) of your home’s location in relation to any of the locations I’ve mentioned to see if you’re in the potential path of the looting sprees that typically follow any sort of collapse or crisis that can engulf your area.
Then consider your current status on being prepared if your town were to break out in unrest.
How much gas is in your car’s tank right now? (Hint: It should be at least half full at all times!)
How much dry-good food supplies do you have stocked away?  (Your fridge food will spoil!)
Do you have supplies to fortify your home against weather (and looters)?
Do you have first-aid supplies available? (9-1-1 will NOT respond in a collapse!)
Procrastination is the biggest enemy of the true survivalist so if you don’t have your bases covered, plan NOW for “little steps” each day.
Tiny steps lead to great destinations and you never know what one single item can mean the difference between life or death.

Source:
http://moderncombatandsurvival.com/survival/riot-looter-defense-planning/

Books of interest:

Soaking and Sprouting Chart


Source

Homemade Bread Recipe: In an Upcycled Can


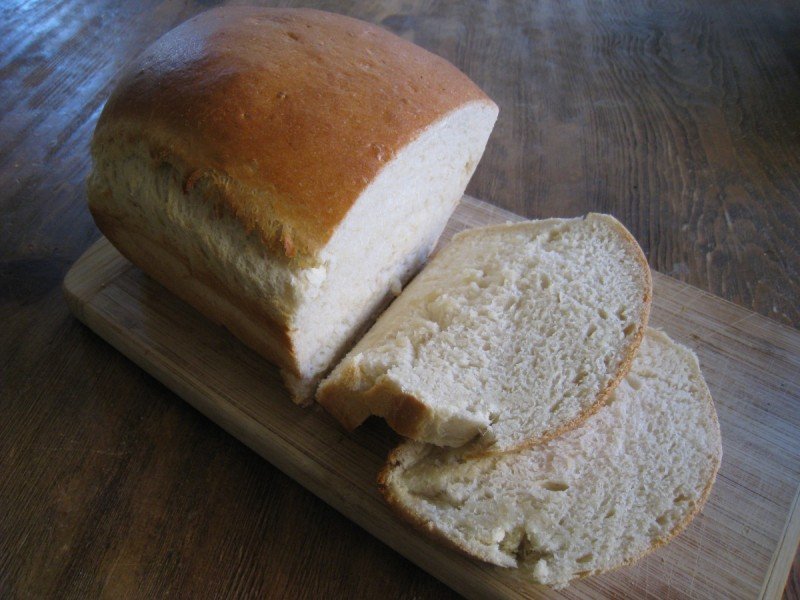
Honestly, is there anything better than the smell and taste of freshly baked homemade bread?
In this age of instant gratification, the art of bread making is at risk of being forgotten as it can be rather difficult to motivate people to make their own bread. Yet, the benefits are well-known and let’s remember…easier isn’t always better:)


What are the benefits of making homemade bread?
Whatever happened to the consumption of our daily bread? Since the mid-20th century farmers and commercial producers have manipulated the system and sought ways to mass produce while keeping the cost low. The results have been disastrous for our health (i.e. grain and gluten sensitivities), our farmlands, and our environment.
This is the case for making your own bread! The benefits are incredible. Making your own bread allows you to control the ingredients based on your dietary needs. I’ve also found that we eat less bread now that I am making it homemade — which in general is a good thing — I try to bake one day a week, usually on Mondays, and once it’s gone it’s gone.
And lastly, one of the greatest benefits of making your own bread is the revival of this nearly forgotten skill.
What ingredients should I look for?
From unbleached bread flour to 100% whole wheat to sprouted spelt the choices for ingredients are numerous (and a bit overwhelming if you ask me). I like to keep things simple in my kitchen. When deciding on ingredients, I operate under our dietary values, looking for items based on this checklist:
  • Purchase directly from the farmer.
  • Locally-produced and harvested (if possible).
  • Non-GMO.
  • Small family run operation. 
  • Co-ops.
  • Ethical business practices.
As a family, we generally do not have any food allergies or sensitivities — for which I am extremely thankful. However, I know many people do. Therefore, when looking for ingredients you must look for those that meet your dietary requirements.
This list is in no way exhaustive. These are just a few products that I have come to love and use frequently.
Flour
Grandpa’s Grain, a farmer that grows a variety of non-GMO grains in Idaho and delivers to Arizona when he comes to see his grandchildren, is as local as it gets for me. Search LocalHarvest to find an independent grain farmer near you. King Arthur Flour and To Your Health Sprouted Flour Co. are also excellent sources for flours and grains.
Buying grain in bulk and milling it yourself is by far the most economical choice. From hand-crank manual mills to electric ones everyone has their own preference. According to my own experience, in addition to the recommendations of our facebook community, some of the most popular grain mills include: Vitamix with the Dry Blade, NutriMill Grain Mill, and the manual Family Grain Mill.
Yeast
There’s no doubt that sourdough bread is a far superior bread — and there’s nothing more frugally sustainable than harvesting the wild yeast in the air for free — but I have had many unsuccessful attempts at making it. I’ve taken the Gnowfglins Sourdough eCourse (which I highly recommend by the way), I’ve purchased cultures, and I’ve prayed over it…yet I have failed:( Talking to a dear friend — who also lives here in the desert southwest — we’ve determined our difficulties in sourdough bread-making are due to the arid climate (Just a guess…what do you think?). I will continue on my quest to create the perfect sourdough bread loaf…but until then it’s old-fashioned yeast bread for me.
Since most of the instant yeast on the grocery store shelves, unless otherwise labeled, contain GMO’s (genetically modified organisms) be sure to know your product and it’s source. Rapunzel Rize Yeast is a bit more expensive, but well-known for it’s adherence to organic and non-GMO practices.
Sweetener
I substitute local, raw honey in all my bread recipes.
The Recipe
There are several bread recipes that produce excellent results, but today I would like to share with you my favorite recipe for white yeast bread (it’s been modified from a recipe found in Forgotten Skills of Cooking).
Gather the ingredients:-1 2/3 cup lukewarm water
-1 packet dry yeast
-5 1/2 cups unbleached bread flour
-2 teaspoons salt
-1 1/2 teaspoons honey
-2 tablespoons butter, lard, or olive oil
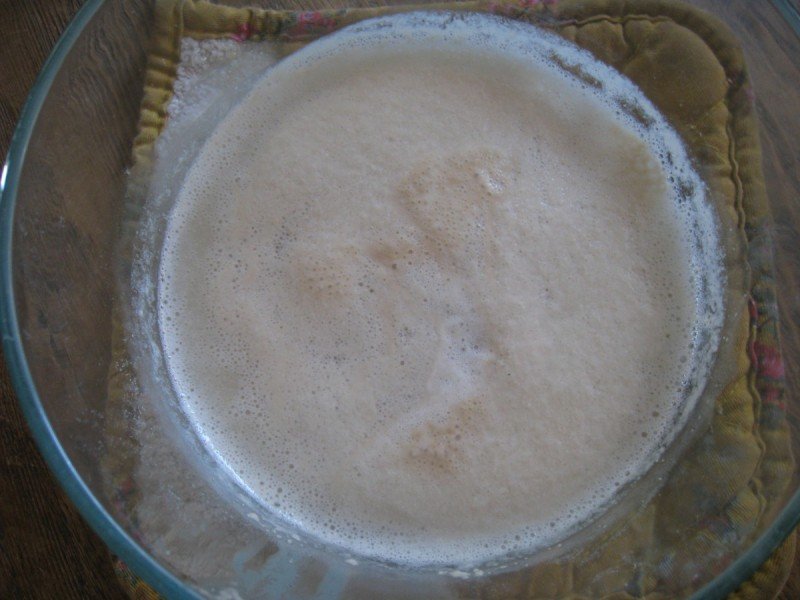
Directions:1. Activate yeast according to packet directions. This usually means placing it in a small amount of lukewarm water, along with the honey, for a few minutes.


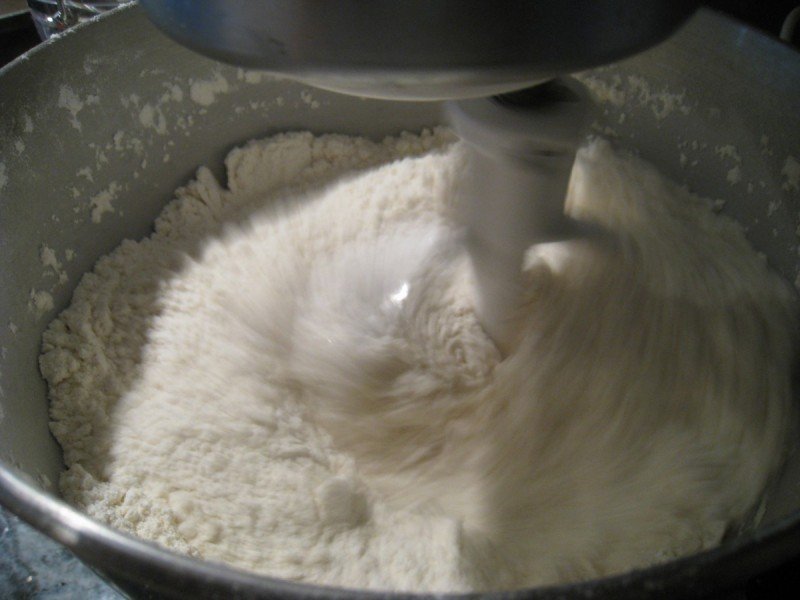
2. Sift together the flour and salt.
3. Cut the butter, lard, or olive oil into the flour.


4. Then pour in the yeast mixture and the remaining lukewarm water. Mixing until a loose dough is formed. Be sure to add water or flour as needed.
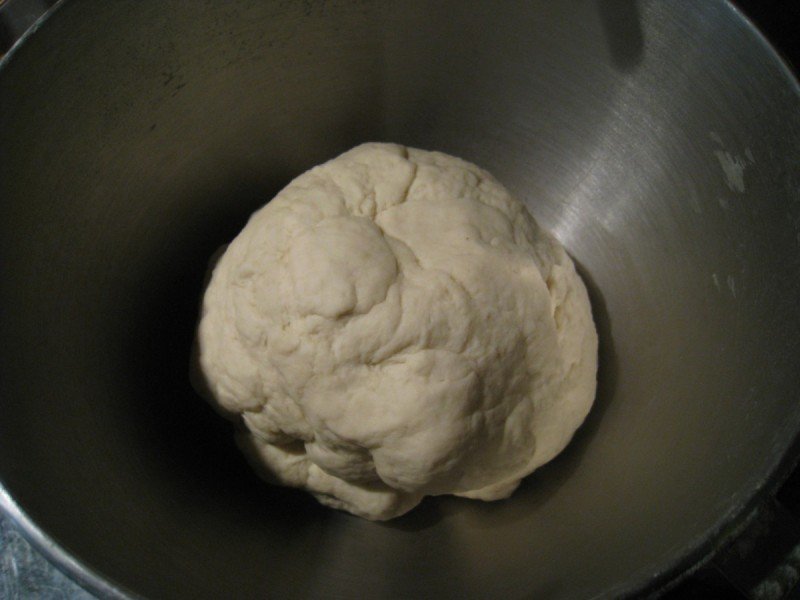
5. Now it’s time to knead the dough. This step can be performed for 5 minutes by using an electric Kitchen-Aid tool or a Bosch appliance. The most sustainable method is to learn how to knead by hand (performed for 10 minutes). Even if you use an electric mixer (like I do), it is super important to have the knowledge and practice kneaded by hand occasionally in order to refine your skills. Here’s a great video to help.
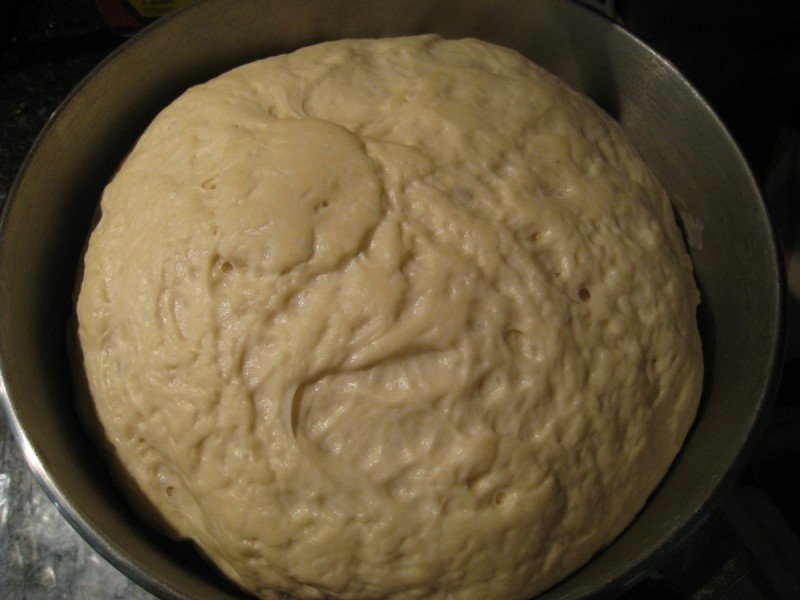
6. After kneading, put the dough in a large bowl and allow to rise for 1 1/2 to 2 hours, covered, and placed in a warm moist environment.


7. Once dough has doubled in size, knead it again for 2-3 minutes. Cover again and let the dough rest for 10 minutes.


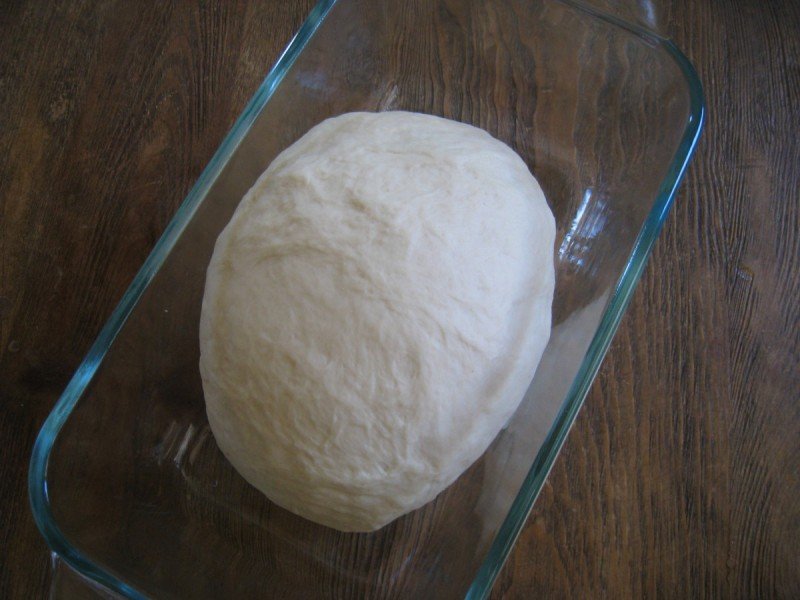
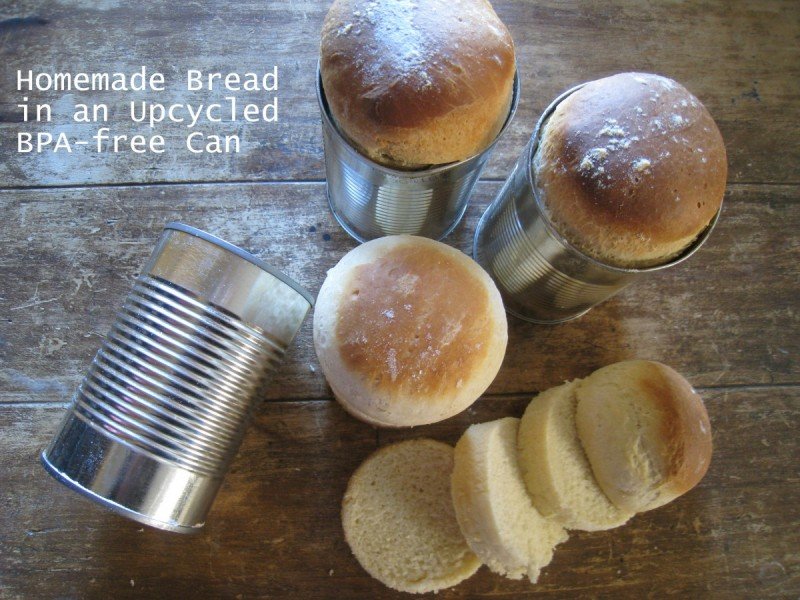
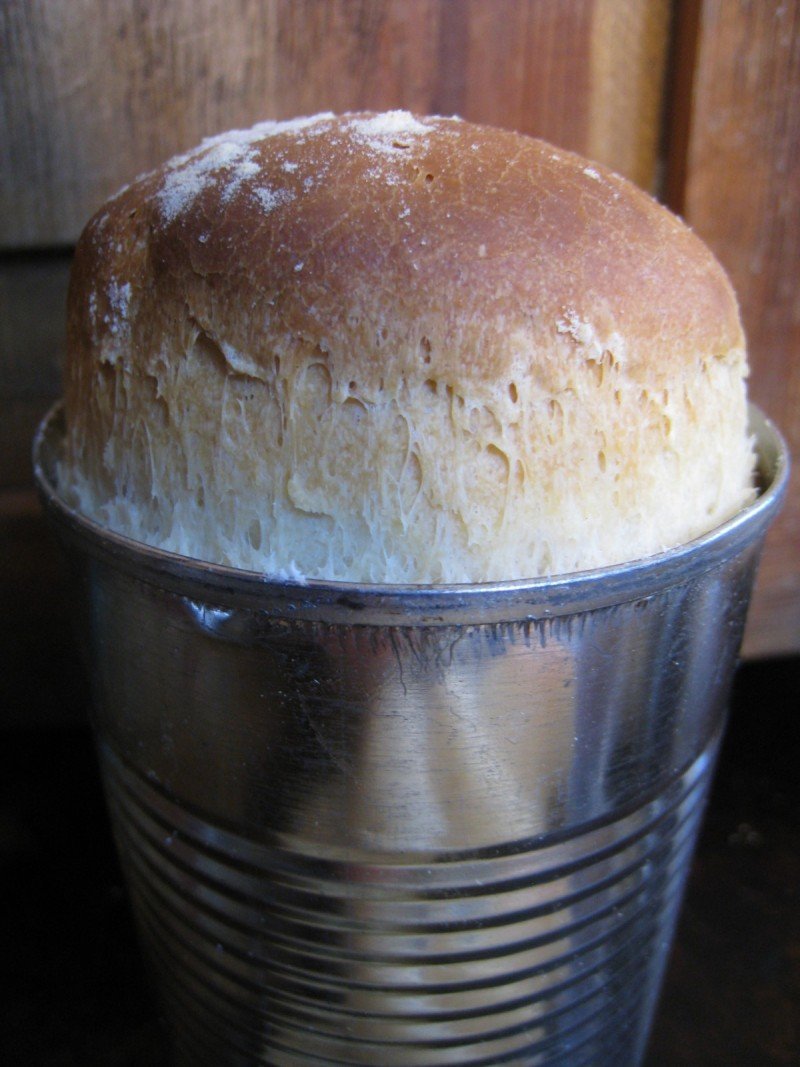
8. Shape dough into loaves (this recipe makes 2 standard loaves or 1 standard loaf and 4 BPA-free bean can loaves) and place into well oiled pans. If using upcycled, BPA-free bean cans — a great way of using what you have to bake bread — grease the can and line the bottom with parchment paper.


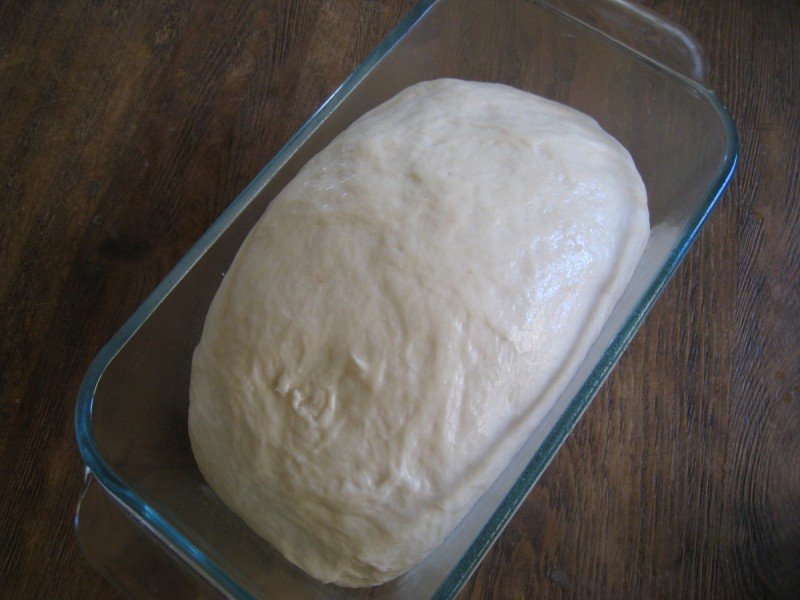
9. Once in pans, allow dough to rise doubling in size again (approximately 20-30 minutes).


10. Preheat oven to 450 degrees fahrenheit.
11. Brush top of bread with water or egg wash.
12. Bake for 25-35 minutes. Note: When done, bread should sound hollow when tapped.


 13. Slice and enjoy!
Please note: If you are going to use an upcycled can, be sure that it has been clearly labeled as a BPA-free can.
Share your homemade bread-making experience!

Source

Books Of Interest: