
We’re in the belly of winter here in southwest Missouri, and there isn’t a dab of green anywhere on the ground. While I’ve always thought that winter brings it’s own beauty, stark, quiet and distant, the chickens and I are longing for the fresh homegrown garden greens (or lawn greens in the case of the chickens.) I’d say there are probably a few gals and feathered friends who can relate.

So, what’s a girl and her feathered flock to do when there is no garden or pasture in sight? Take things into our own hands…er, beaks I mean.
Growing sprouts is such an easy, fun way to supplement our winter weather blues with a little green pick me up. For chicken owners sprouting is especially helpful as it can help cut feed costs drastically, and your chickens will be getting extra nutrients which means more big, beautiful eggs. And well, if you don’t have any chickens, you can feel good about growing your own food and enjoy the sprouts on sandwiches, salads and baking (think Ezekiel bread.)
I’ve been growing sprouts for the chickens for couple of months now, and they go wild every morning when I bring them out. Before I started sprouting, I was feeding my hens one cereal bowl of laying feed and one cereal bowl of cracked corn. Now, I feed them a half-bowl of corn, a half-bowl of layer feed and a jar of sprouts. There is usually even a few bits left over for the cardinals and blue jays after the chickens have left to go scratch up creepy crawlies in the woods.

I chose to sprout winter wheat for the chickens because it’s easy, cheap and healthy, but you can sprout a magnitude of different seeds. Alfalfa is probably the most common for human meals, but just about any bean or seed can be sprouted (as long as it hasn’t been heat-treated.) Check out your local health food store for options available to you. I bought a 50 pound bag of winter wheat (usually sold for planting or feeding animals) at our local feed store for just under 10 bucks. There are approximately 100 cups of wheat berries in the bag, and considering I use 2/3 cup of berries per daily jar, that means I can provide half of my chicken feed for five months for under 10 dollars!

I’m a big believer in the non-GMO movement, and considering the eggs we eat come from the chickens we feed, I am careful to only feed non-GMO rations. The good thing about wheat is that the evils-to-be haven’t gotten their hands on it yet, so there is no GMO wheat out there as of now. Yay!
Materials
5 canning jars with one lid and ring
Winter wheat berries or sprouting seeds of your choice
Roll of screen or any other surface that will allow water to drain but will keep the sprouts in the jar. You can use cheese cloth, plastic needlepoint sheets or ready-made sprouting jar lids.
Heavy-duty rubber bands (mine say #84 on the bag)
Directions
1. Gather your supplies. You’ll want to make sure you’re jars get a quick wipe out with some soap and water if they are from your dusty basement like mine.
2. Fill one jar with 2/3 cup of wheat berries. I use pint-sized jars with this amount of wheat, but if you are adding more seeds you’ll want to use a larger jar. Fill jar with water about half way, making sure all the seeds are submerged, and put a clean lid and ring on top. Sit away in a dark place. I sit my starter jar in our kitchen pantry cabinets to begin.

3. Allow jar to soak overnight. This is the only time you will actually allow the seeds to sit and soak in water.
4. The next morning, take the lid off the jar and place your piece of screen on top. Secure the screen to the top with a rubber bad. Once the lid is on securely, pour the water out of the jar and into a sink. Then rinse the seeds with running water, and drain out all the water. Sit the new jar in a sunny windowsill and start a new jar to put in the pantry. Rinse jars twice daily.
5. Continue this process until you have a total of five jars, one starter jar and four in the windowsill. Usually by this time, the sprouts have gotten large enough to provide a meal for the chickens.
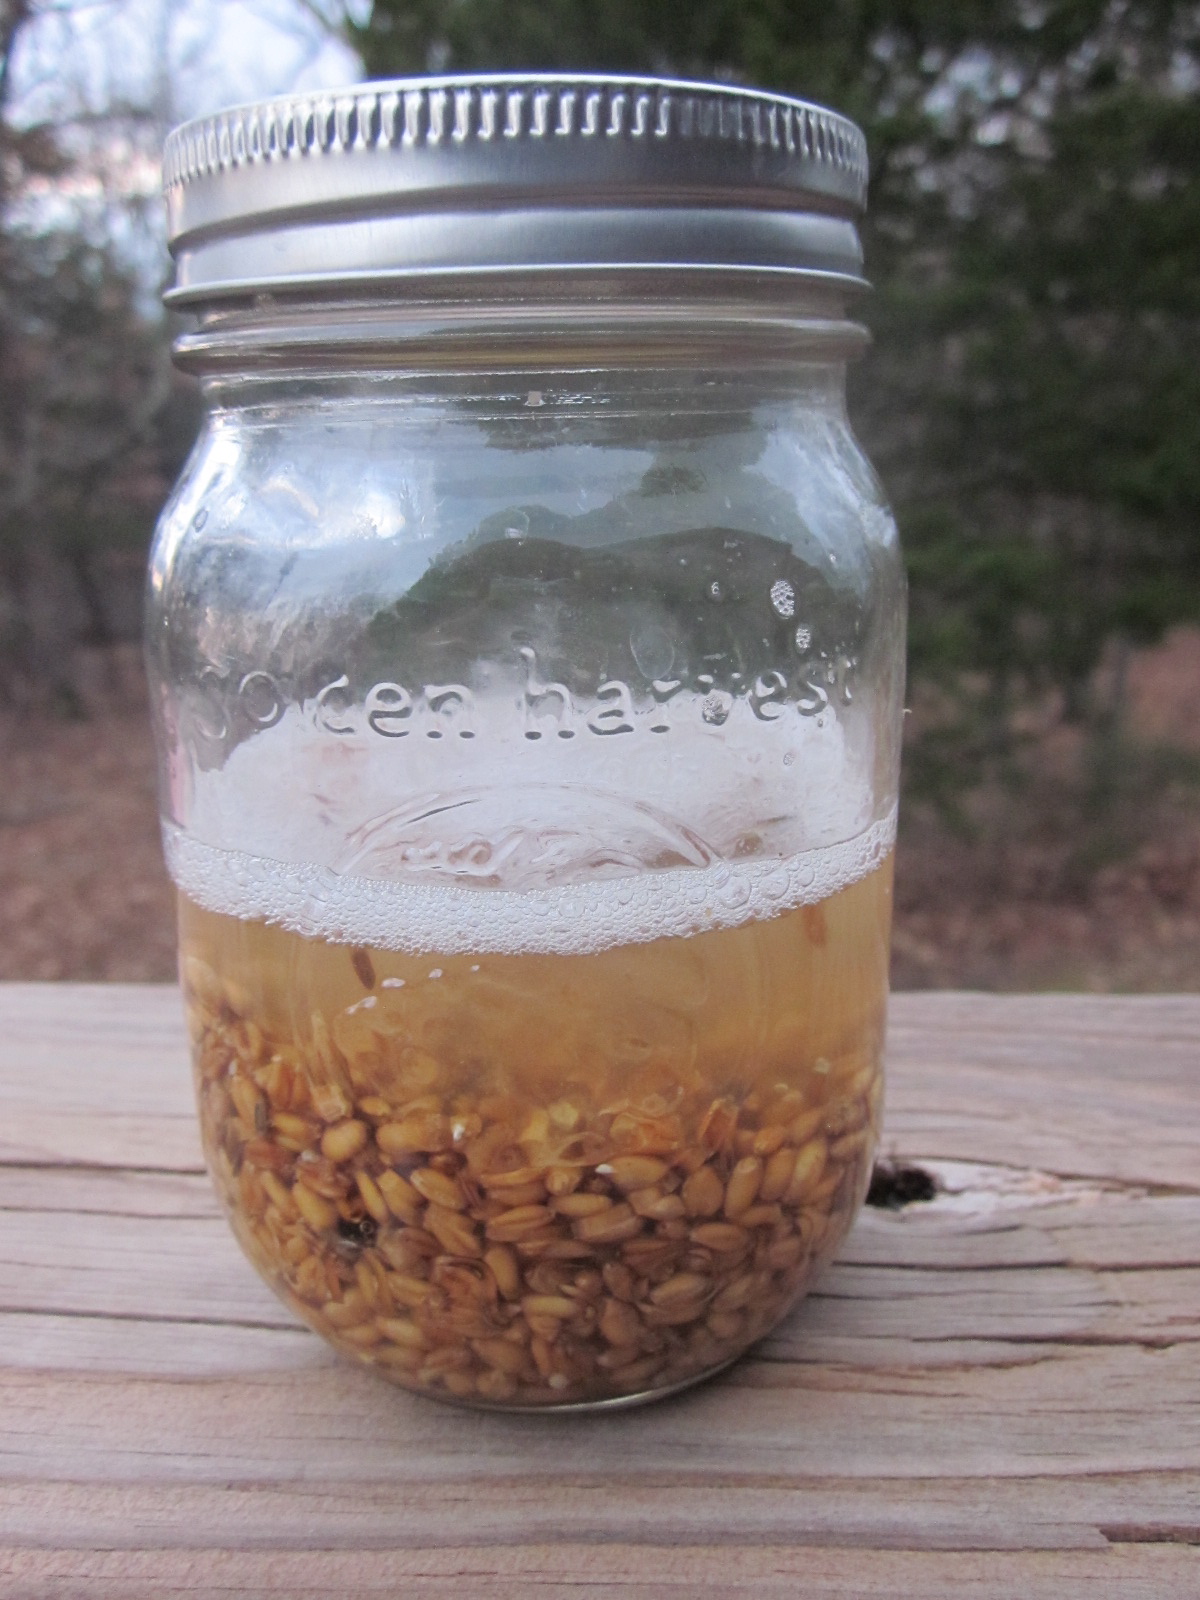
Day 1
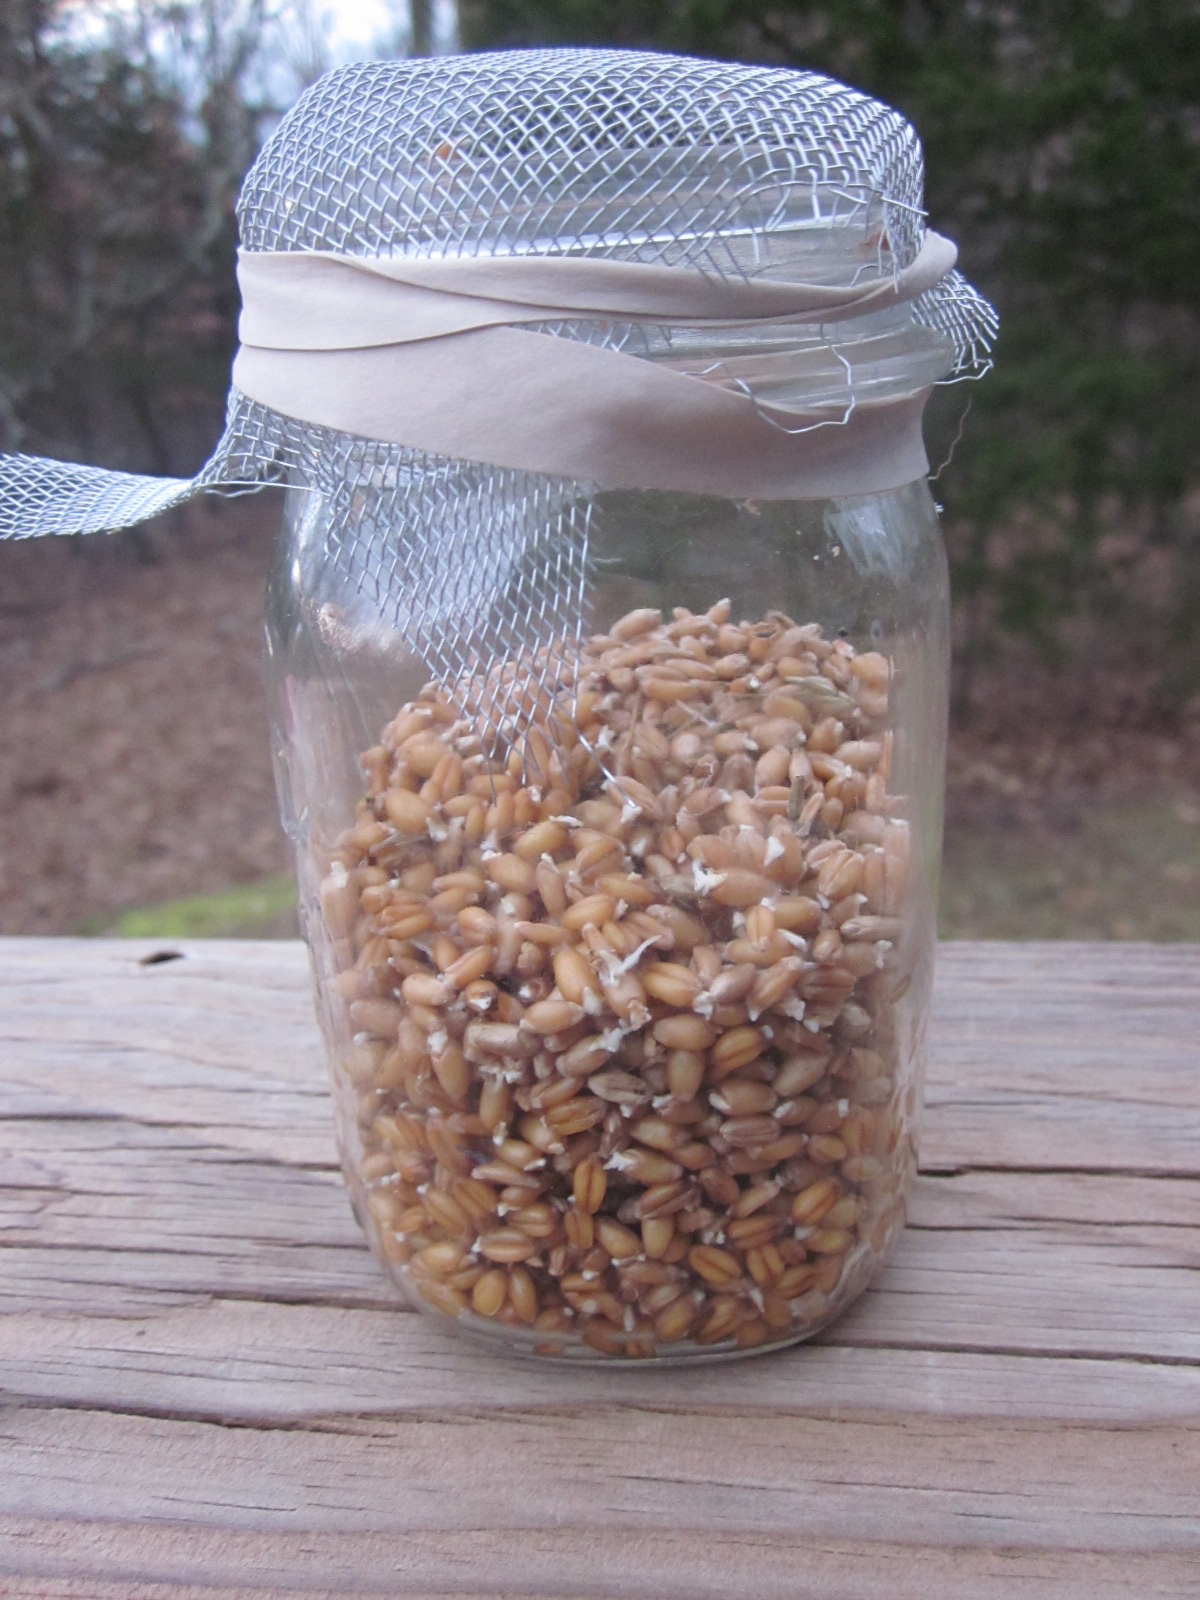
Day 2
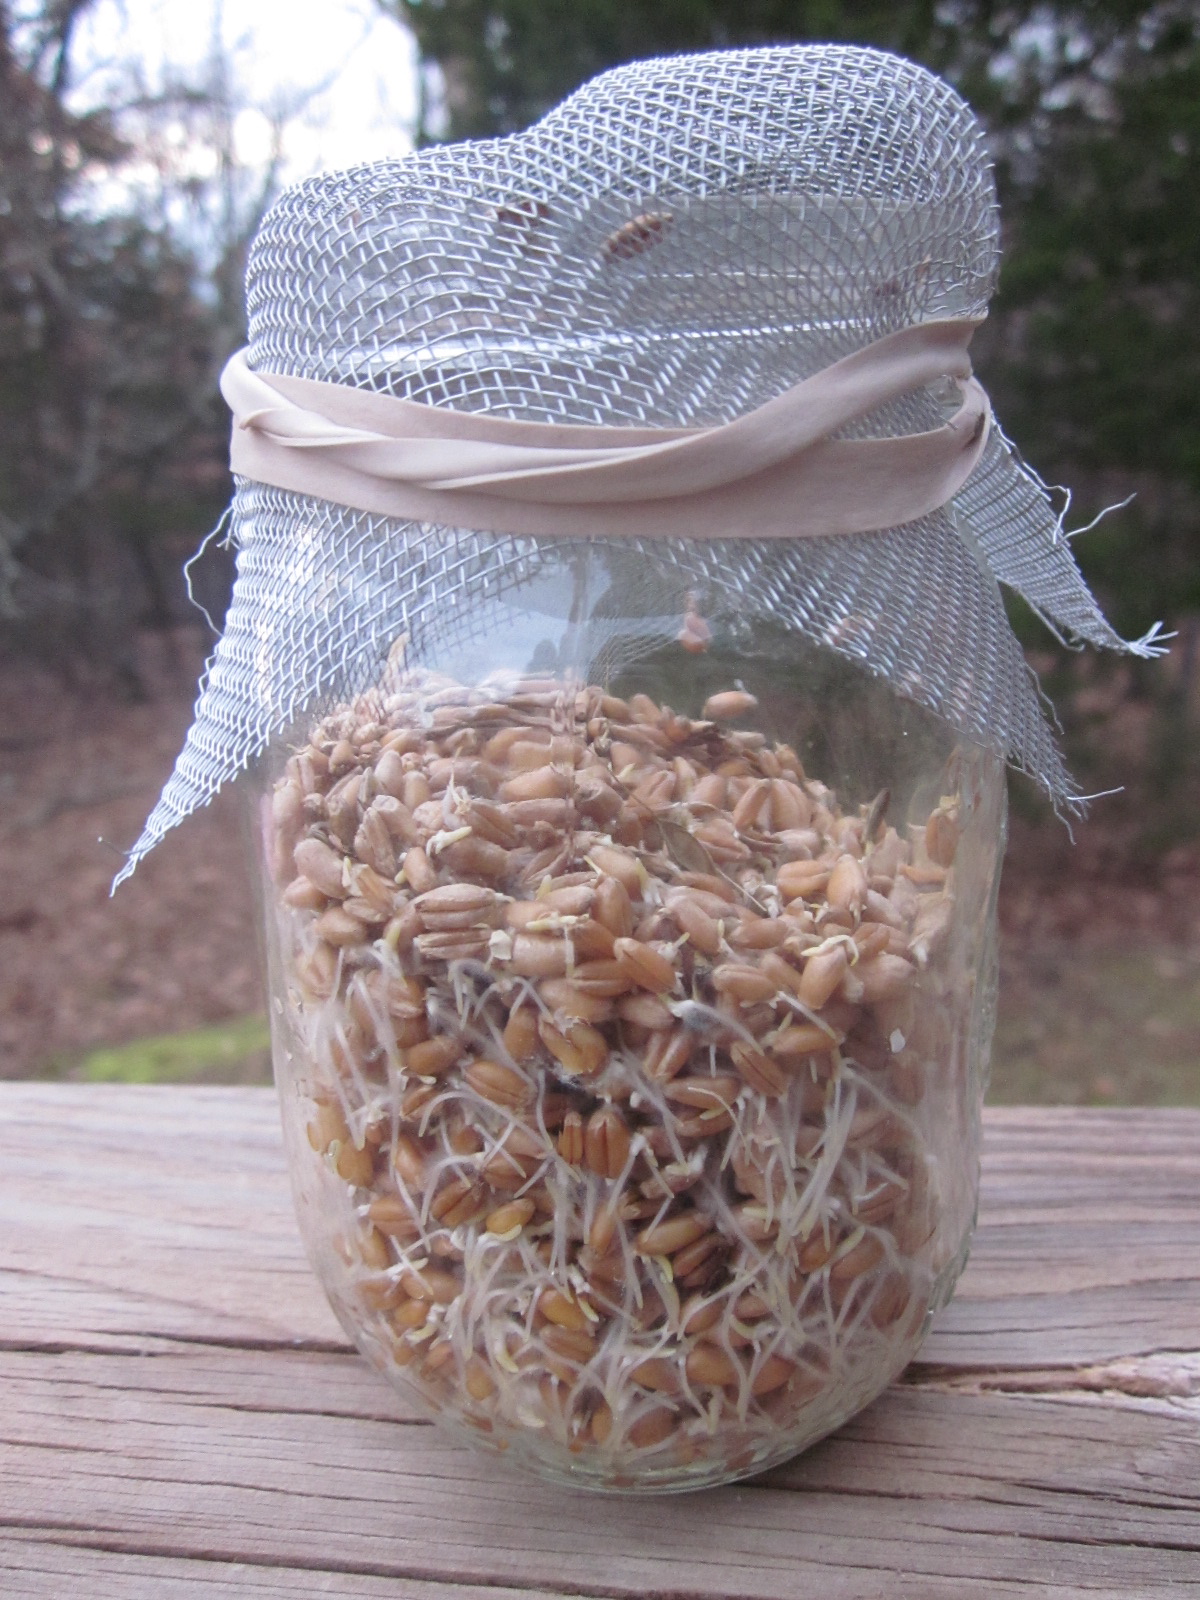
Day 3
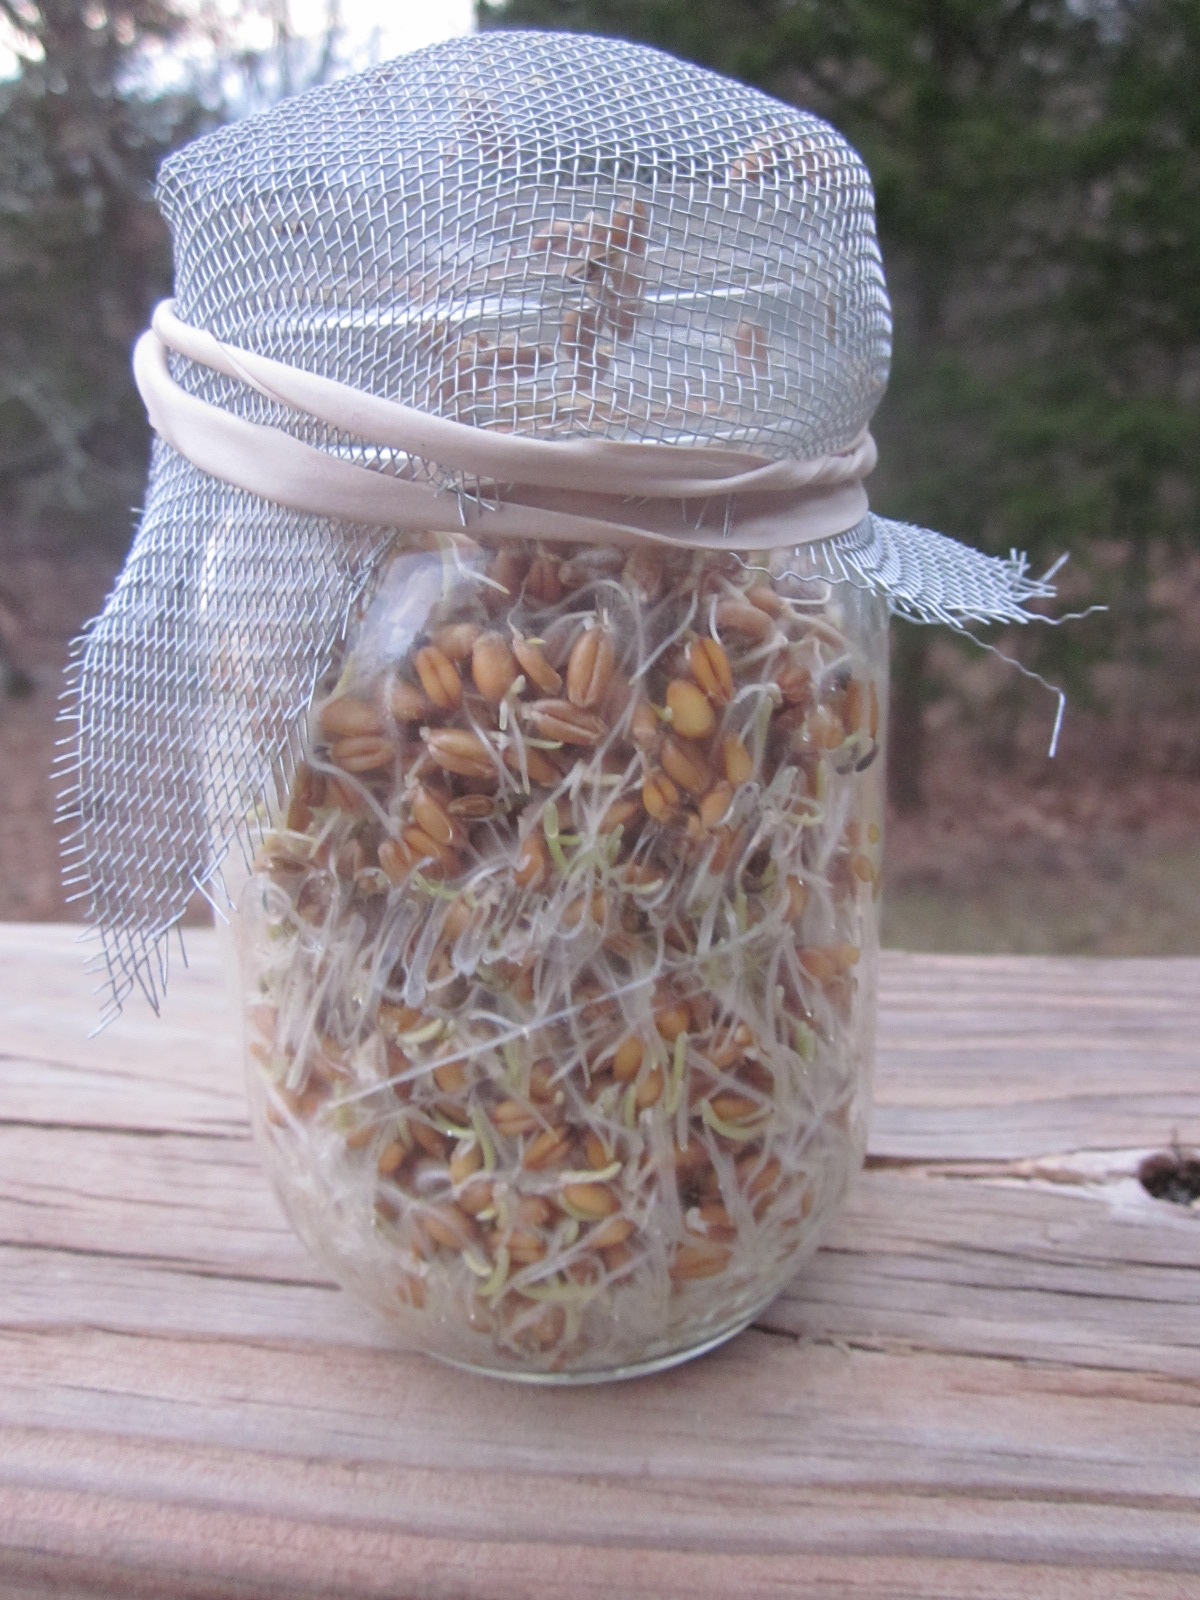
Day 4
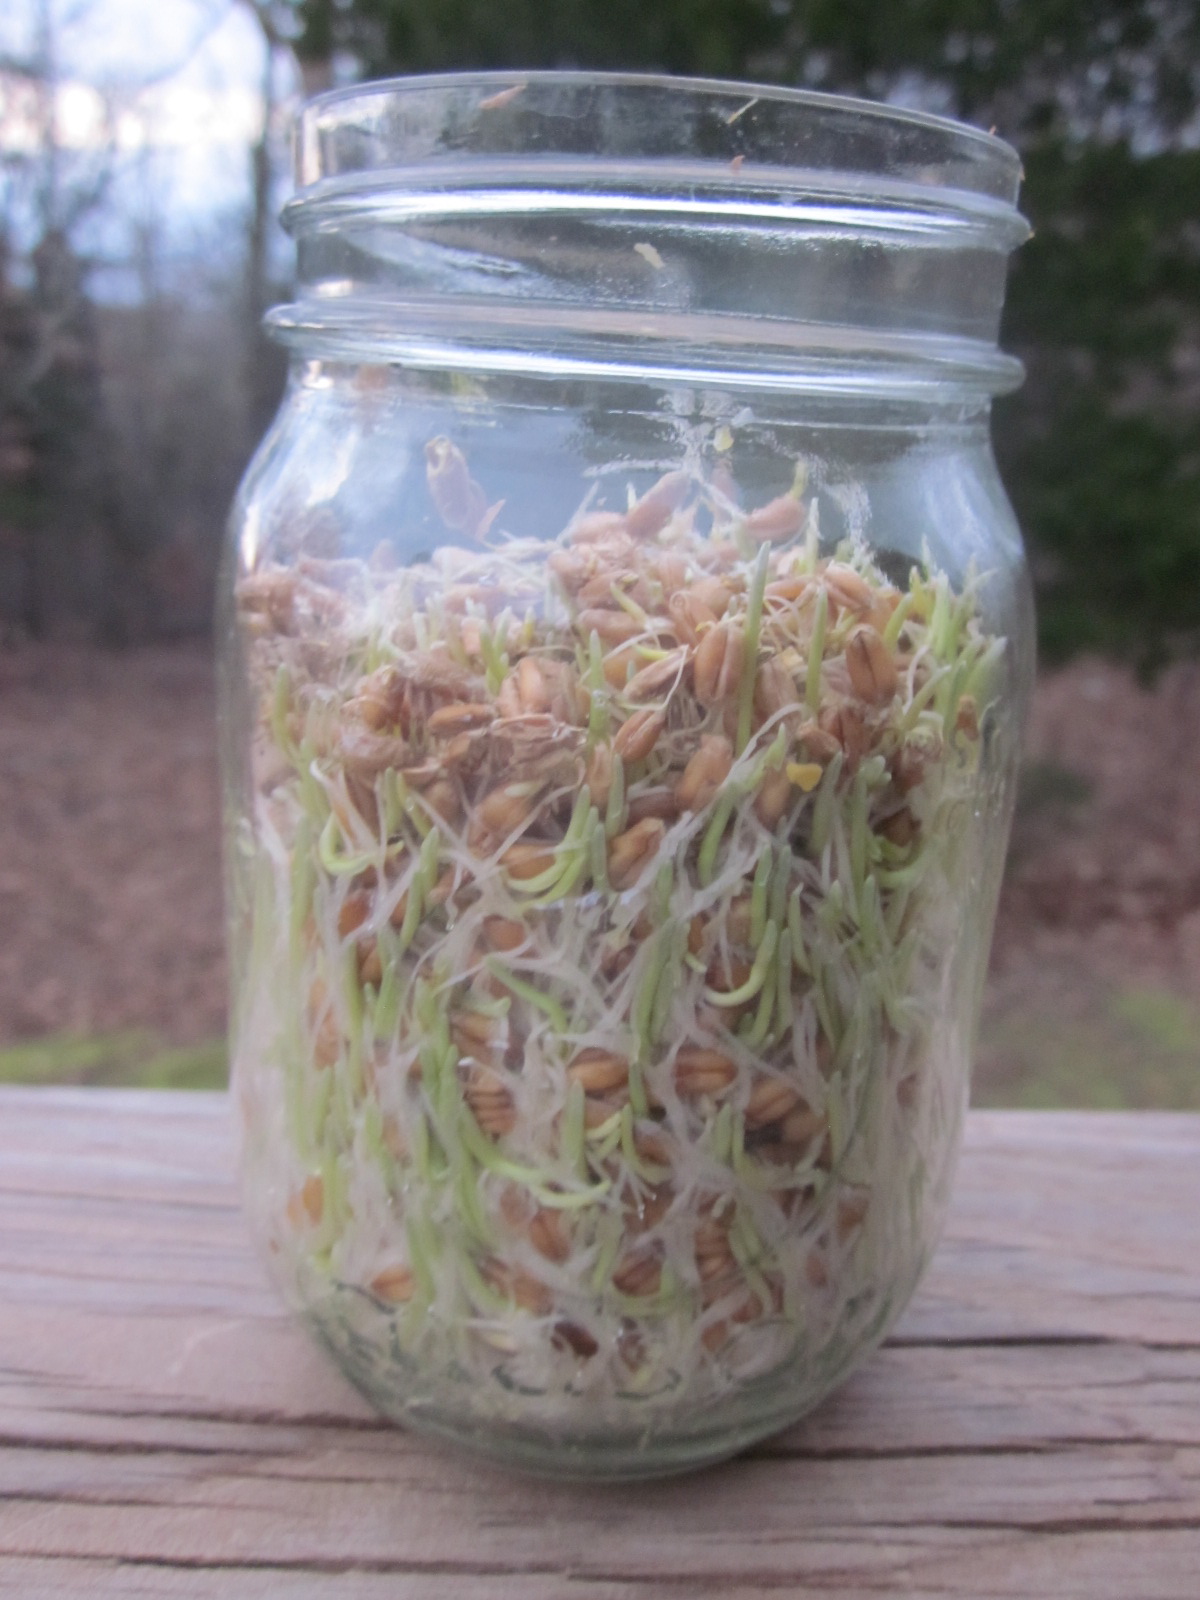
Day 5 – ready to feed!
7. Take the sprouts outside to your chicken feed pile and watch them go wild!
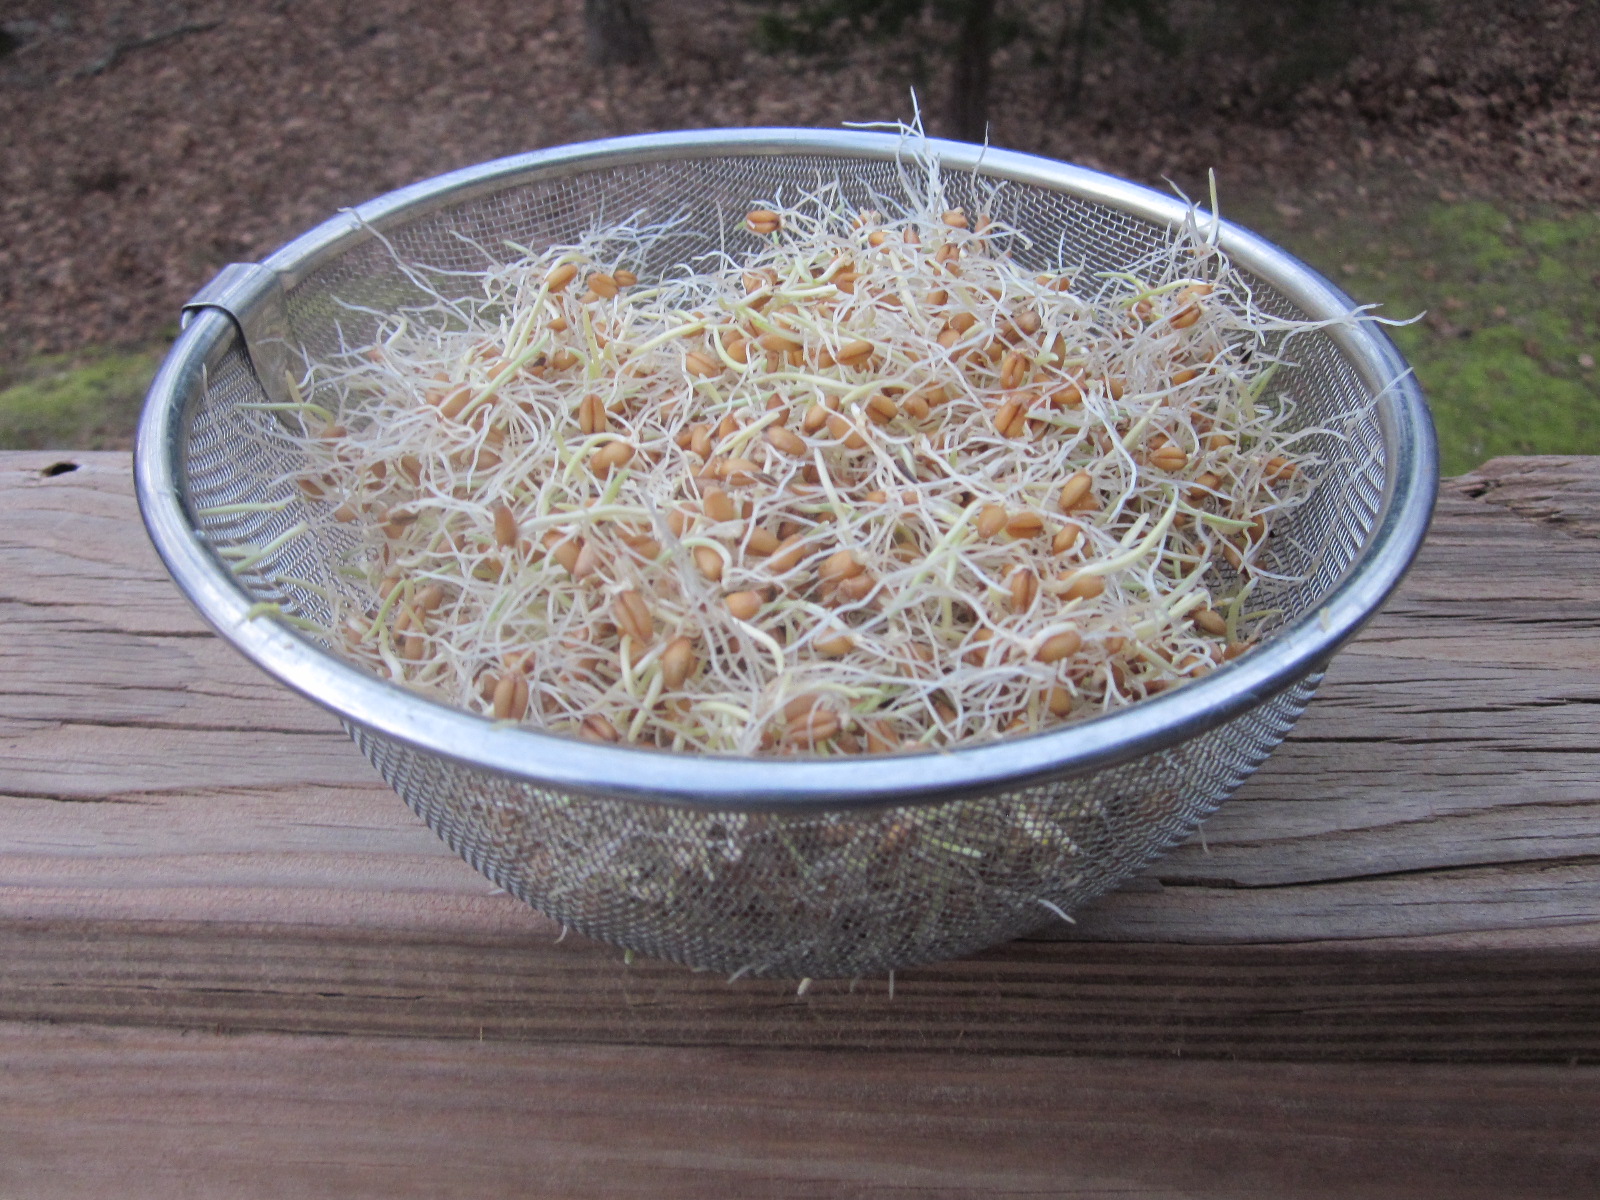
A basket full of sprouts, ready for feeding!
Source:
https://hensandhoney.wordpress.com/2014/01/04/dreaming-of-a-green-winter-growing-sprouts-for-your-chickens-or-yourself/
No comments:
Post a Comment