For many people today,
the threat of unemployment is a constant.
The economy – global, regional or local – is often precarious or even downright collapsing. Yet most of us don’t want to face the fact that it might happen to us – until it does. Most of us are trapped by the economy around us and feel helpless.
Now, personally, we live in what is considered an
economically depressed region. Our entire province struggles with both unemployment and underemployment and has for decades.
This post may contain affiliate links.
My grandfather once said that hardly anyone noticed the Great Depression in the Maritimes – it was just
a few more unemployed people,
a few more hungry people.
When job loss hits, there is often not another anywhere in the horizon because job loss in an economically depressed region (or era!) rarely means just one more person is looking for work.
Time to panic?
Well, maybe. If you have already begun homesteading, realize that you have been creating a lifestyle of self-sufficiency, increasing your reliance and skills in order to thrive no matter what the economic circumstances. You have skills and you have resources … and you have a job.
Unemployment is capitalism’s way of getting you to plant a garden. – Orson Scott Card
My homesteading friends, take a step back and realize that you have a job, one that the entire family can (and really should) do
together, and one that never has
layoffs or economic depression. Another nice thing about this job is that it asks little regarding
credentials. If you are willing and even moderately able, you can do it. After all, this job is tailor designed for you, your interests and your abilities!
Of course I’m talking about
homesteading – however that looks for you. It’s going to be different for all of us. Have you ever thought of the self-sufficiency skills and resources that you have which will allow you to live on a very low income? (As a note: This was written when we were off-grid, living in the woods. Read through for ideas on customizing it for your own situation)
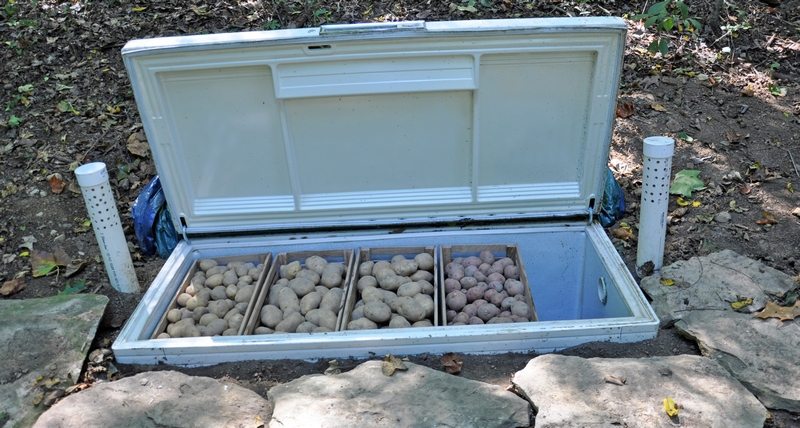
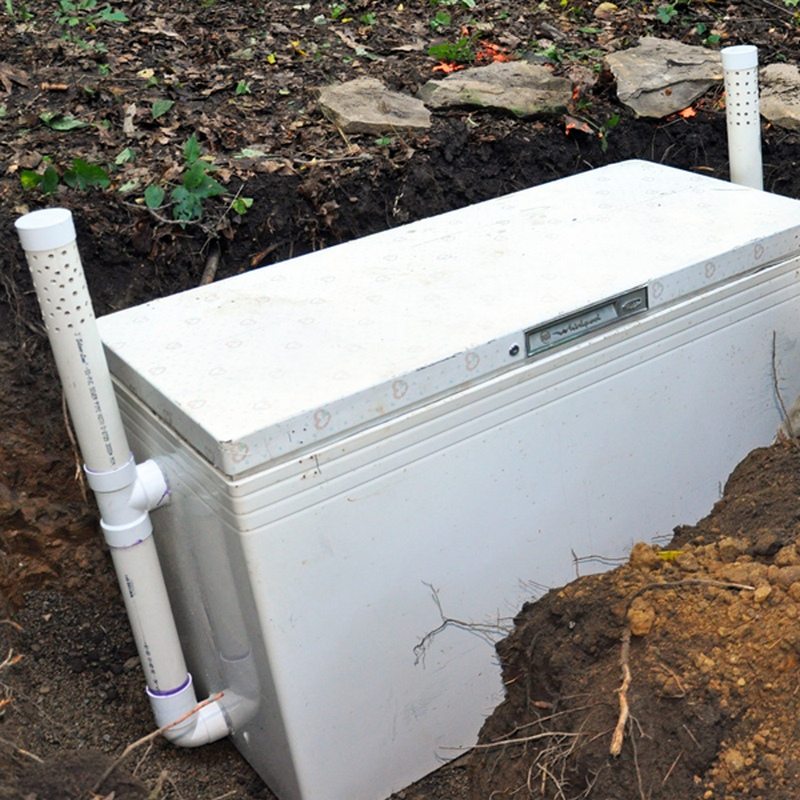
Garden
I have
a huge box of seeds that is just waiting for the ground to warm up a little bit more.
Beets, loads of
beans and
cucumbers,
corn,
seed potatoes,
carrots,
lettuce and
hardy greens. Some of the hardier ones will be saved to grow in the
greenhouse during the fall, assuming we can put together the money to fix it this summer. We will also be building some
cold frames, using thirteen old glass window frames we picked up when some neighbours were renovating.
Do you garden?
Perhaps you live in the heart of a city and rely on your CSA or the farmer’s market. That makes it a little more difficult to be self-reliant.
If you’re considering using your awesome homesteading skills to decrease your need for a cash income, look at ways to
grow something,
somewhere. Community gardens are one option, but so is hooking up with someone who might loan you some land. Get creative.
Pressure canning
I LOVE opening a jar of carrots, corn or beans in the winter that was prepared essentially for
free. Every year my canning has increased in importance and this year it will be vital.
In order to pressure can vegetables,
you’re going to need a pressure canner – your two main options are the
All-American pressure canner and the
Presto pressure canner – both are workhorses that will last for years. (The All-American is
initially expensive and it
weighs a lot but it has
no parts that need replacing, while the Presto is
less expensive and
more lightweight but it has
rubber gaskets that need replacing regularly. Those are the only essential differences and both are great canners!)
To help keep it organized, I will be taking an inventory of what I currently have, listing what I need to get us through the next year, and checking things off as they’re preserved.
Don’t forget other low cost methods of food preservation, too!
Dehydrating,
pickling,
wine-making,
lacto-fermentation,
curing – there are many other ways to preserve food.
I do not recommend freezing as a reliable preservation method unless you are running it on
renewable energy.
Chickens
There are four roosters destined for the soup pot very soon (over due, to be honest!), and a couple of the hens who are definitely not pulling their weight. The hens that are inclined will be allowed to go broody this year and those chicks will be earmarked for slaughter in the late fall. This should provide us with a decent amount of canned chicken and broth for the winter.
We are planning out our future chicken coop, but if funds remain tight this year, that may have to wait.
I have learned that I am not likely to selectively cull birds during the winter. Water is scarce here when temperatures drop below freezing, and chicken cleaning uses a lot of water.
Goats
Currently we have Nanette, who is nursing her twins and hasn’t a drop of milk to spare, and Emily, who seems to have got pregnant mid-winter. We will soon be separating Nanette and the twins during the day, which will give us some milk, and then we’ll get milk from Emily after she kids. The twins are a castrated male, who will be the companion goat as necessary, and a little replacement milker. We’re hoping for another doeling from Emily.
However, I recently read something “Don’t get livestock animals to save money.” Yea, no kidding. It’s a good thing I love those goats because they haven’t exactly been cheap!
Other animals –
rabbits and
pigs are also great options on the homestead. Although I have been warned by other farmers that pigs are quite expensive. The best way to afford them, I’m told, is to breed a sow twice a year and sell most of the piglets. We’re probably not getting pigs this year, but if we can get hutches built, I’d like to add rabbit to the mix.
Foraging
During the summer and fall, at various times, I can step outside and pick dandelions (yum!), lambsquarters, wild strawberries and blueberries, crabapples and wild apples (they make great applesauce), elderberries, choke cherries, violets (yes, they’re edible), sheep sorrel and much, much more.
And I know that I’m only beginning to learn the many edible plants around me. If you don’t know the wild foods around you, it’s time to learn. No matter where you live, there are foods to be foraged.
Hunting
We have talked a lot about this, but we keep putting it off, mostly because the mister is working full days during training sessions and hunting season. He now has his hunter safety course and his license, so we’re well on our way to having game in the freezer.
Daily bread
I have returned to my old habit of making bread daily, now that I’ve learned the trick of keeping a pot of boiling water in the oven when the bread is rising! Except for in the summer, our place is generally too cool, sometimes out right too cold, to raise bread.
Homemade bread is probably the most cost-effective way to fill hollow legs and increase the food budget. If you are able to source whole grains for a good price and can grind your own fresh before making the bread, that’s even more cost-effective, but do not feel guilty about buying purchased flour. I know that my grandmother bought her flour by the barrel because she was just too busy to be grinding flour every day.
Scratch cooking
Not just bread! Knowing how to bake a batch of beans, a simple casserole, quick pancakes or other inexpensive and belly-filling meals means that you are not at the mercy of convenience foods or, worse, restaurants.
Eating restaurant meals is a rare treat for our family. Last week, the mister was taking a $100 cheque to the bank to cash. I joked that that would almost take our family of six out to dinner … and then I realized that it was close to the truth. At an average of $15 per person, we can easily spend $100 for a single restaurant meal.
Or I can buy enough groceries to last us more a couple of weeks! That’s easy math.
Wood heat
As I write this, the mister is outside, getting a headstart on the firewood for next fall. We have enough wood on hand for this coming year, and have just ordered our wood to carry us through until the spring of 2018. Although our property is partly wooded, the trees are immature and not ready for harvesting.
Still, firewood remains
the least expensive source of heating fuel. Once our wood cookstove is installed, it will also be our main cooking fuel.
Low expenses
One of the nicest things about being off-grid is that we have very few bills to worry about. The property tax comes due in the summer, and we have our phone and internet and insurance to pay, but our fixed monthly expenses come out to a shockingly low number. We have no water bill, no electricity bill, no monthly fuel bill, no sewage bill.
Look for ways that you can lower your various utility costs. Can you replace even small amounts of your electricity with solar-powered devices? Are you in a place where you can save rainwater in order to have a lower water bill? Try turning off the hot
water tank, at least in the evenings – why heat water through the night when everyone is sleeping?
However, even “free” eggs and milk come at the cost of feed, hay and other necessities, and wood needs to be bought in the spring. I have yet to find a way to grow shoes in the garden.
Barter
So far I’ve
bartered fresh eggs for some good quality second hand clothes. This is one reason why I don’t try to sell eggs – they’re more useful as a barter item! We have bartered
time and
labour, too. Bartering is useful!
Unfortunately, the government will not accept fresh cucumbers in lieu of taxes. Wouldn’t it be nice if they did?
Cottage Industries
There are so very many ways that homesteaders can bring in extra money. The trick is to stop thinking in terms of thousands of dollars. Instead, diversify and think small ….
My Old Order Mennonite friend explained to me that, when BSE (a.ka. Mad Cow Disease) devastated the beef industry, many of their farms lost huge amounts of money.
To keep families afloat, the wives and mothers stepped forward.
The men continued traditional farming while the women expanded their gardens, goat barns, rabbit hutches and chicken coops. They sold pickles and jam by the jar, a zucchini for fifty cents and a pumpkin for a dollar, eggs for two dollars, and plant starts for a quarter. They took in sewing projects or made quilts.
She showed me the little
cash box where she kept her earnings – quarters, dollars and fives, every bit of it. With her garden, goats and chickens, she earned about the same amount as her husband.
For me, that includes this
blog (like the very carefully selected ads that I display with products and services I recommend, and Adsense which is customized to your browsing history), but it will also include selling at the
local market this summer and fall.
I plan to have
pickles (lacto-fermented and vinegar),
pickled eggs,
fudge and various
produce – like foot long “Rattlesnake” beans and Lyaluk cucumbers – and maybe some
baked goods. Zucchini bread, maybe?
And of course, it can include
outside work. My grandfather cut and sold logs, and he sold hay in the winter. My grandmother sold butter but she also cleaned houses at times when logging and haying didn’t bring in enough. Outside work does not always have to mean a regular job, though.
Your homesteading economy is not going to look exactly like mine, but have you ever thought about what you have – resources and skills – to help you live without a regular job? Many people talk about preparing for “SHTF” but for many of us, that isn’t a far off event in the future. It’s daily life. Homesteading is PREPAREDNESS IN ACTION.
How to Get Started – Country or Town!
First step
Figure out ABSOLUTE MINIMUM you need in cash to pay your annual bills, but also what you need to survive with a bit more comfort. Our first list would include our phones (basic flip phones), internet, insurance, taxes, any debts owing to private people, vital medication, as well as feed for the various animals.
To add a little more comfort, we would want some grocery store food, building supplies,
health care expenses (glasses, dental care), gasoline, a bit of propane. Still, don’t go overboard – you’re thinking necessities here.
Second step
Figure out what assets you have to help you meet your needs with little or no financial input.
Third Step
Look at what you can do to make up the difference between what you can generate with your homesteading activities and what you need to live.
Fourth Step
Work on getting some luxuries! Don’t plan to live your life on a bare bones budget.
Source:
http://www.justplainmarie.ca/the-homesteading-economy/


